Description
Features:
This is an upgrade kit for Ender-3 series, which aims to help printer operate better. Successfully assemble would take you some time.
By upgrading to dual-Z-axis structure, it would improve printing quality, getting more precise mold than stock single Z-axis structure printer.
This kit fits for Creality Ender-3 series(not Ender-3 Max), Voxelab Aquila, and other 3D printer using 365mm (or approximate) lead screw rod.
By this kit, it could reduce Z-axis and X-axis vibration, which would make it get better accuracy.
Then, by dual stepper motor drive and dual Z-axis srew rod transmission, it would be easier to do bed leveling.
We are committed to providing novel, practical and high-quality 3D printer accessories, they are mainly matched with Ender and CR series.
Detailed Steps
1. Turn off the printer, unplug the power cord, and use a hex wrench to remove the two screws which are secure the power supply. Remove the power supply.
2. Install the Coupler on the stepper motor and tighten the screws. Use the hexagon socket screws and the Z AxisMotor Bracket to fix the motor on the aluminum profile.
3. Remove all the screws of sheet metal pulley on the right side of the X axis.
4. Use long screws to fix the Z-axis sheet metal and install it on the X-axis right sheet metal. Screw the T8 screw into the screw nut to the coupler, and tighten the screw of coupler.
5. Install dual Z stepper cable to the motherboard, and connect two Z motors.
6. Install the Phillips screw and the boat nut on the power supply holder to install the power supply.
7. Place the lead screw bearing guide on the left and right sides of the X-axis aluminum profile and let the Z-axis rise to the highest position. If one side is uneven,turn the corresponding coupler clockwise.
8. Install the lead screw bearing guide and tighten the screws. Pay attention to the alignment position of the mount.
Specifications:
Type: 3D Printer Dual Z Axis Upgrade Kit
Color: Black
Material: Sheet Metal + Stainless Steel
Material: sheet metal + stainless steel + stepping motor
Suitable for: Compatible with Ender-3 / Ender-3 V2 /3X/ Ender-3 Pro 3D printers(and other 3D printer using 365mm (or approximate) lead screw rod.)
Package Included:
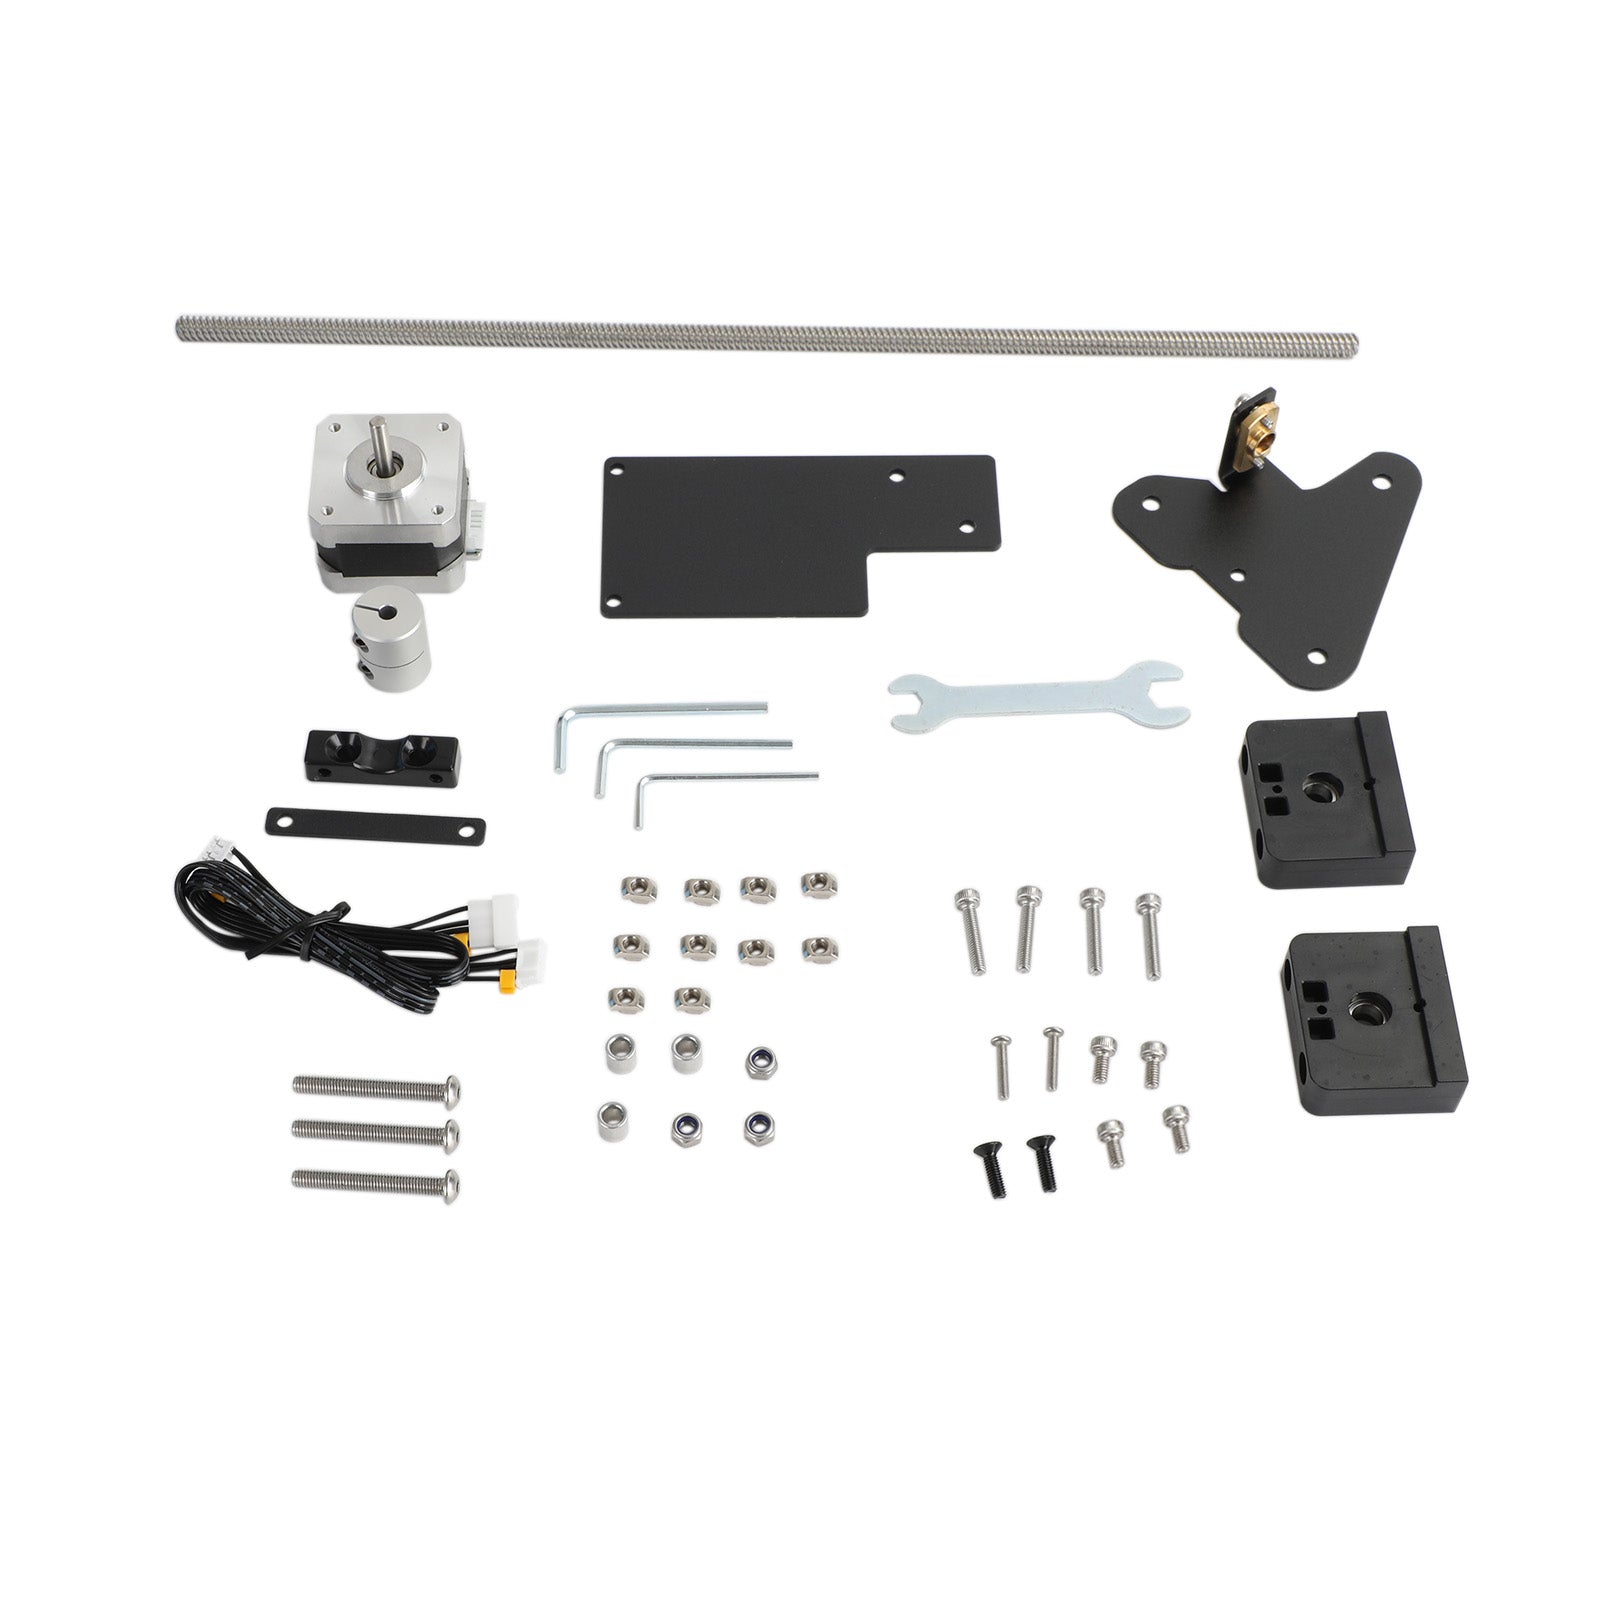
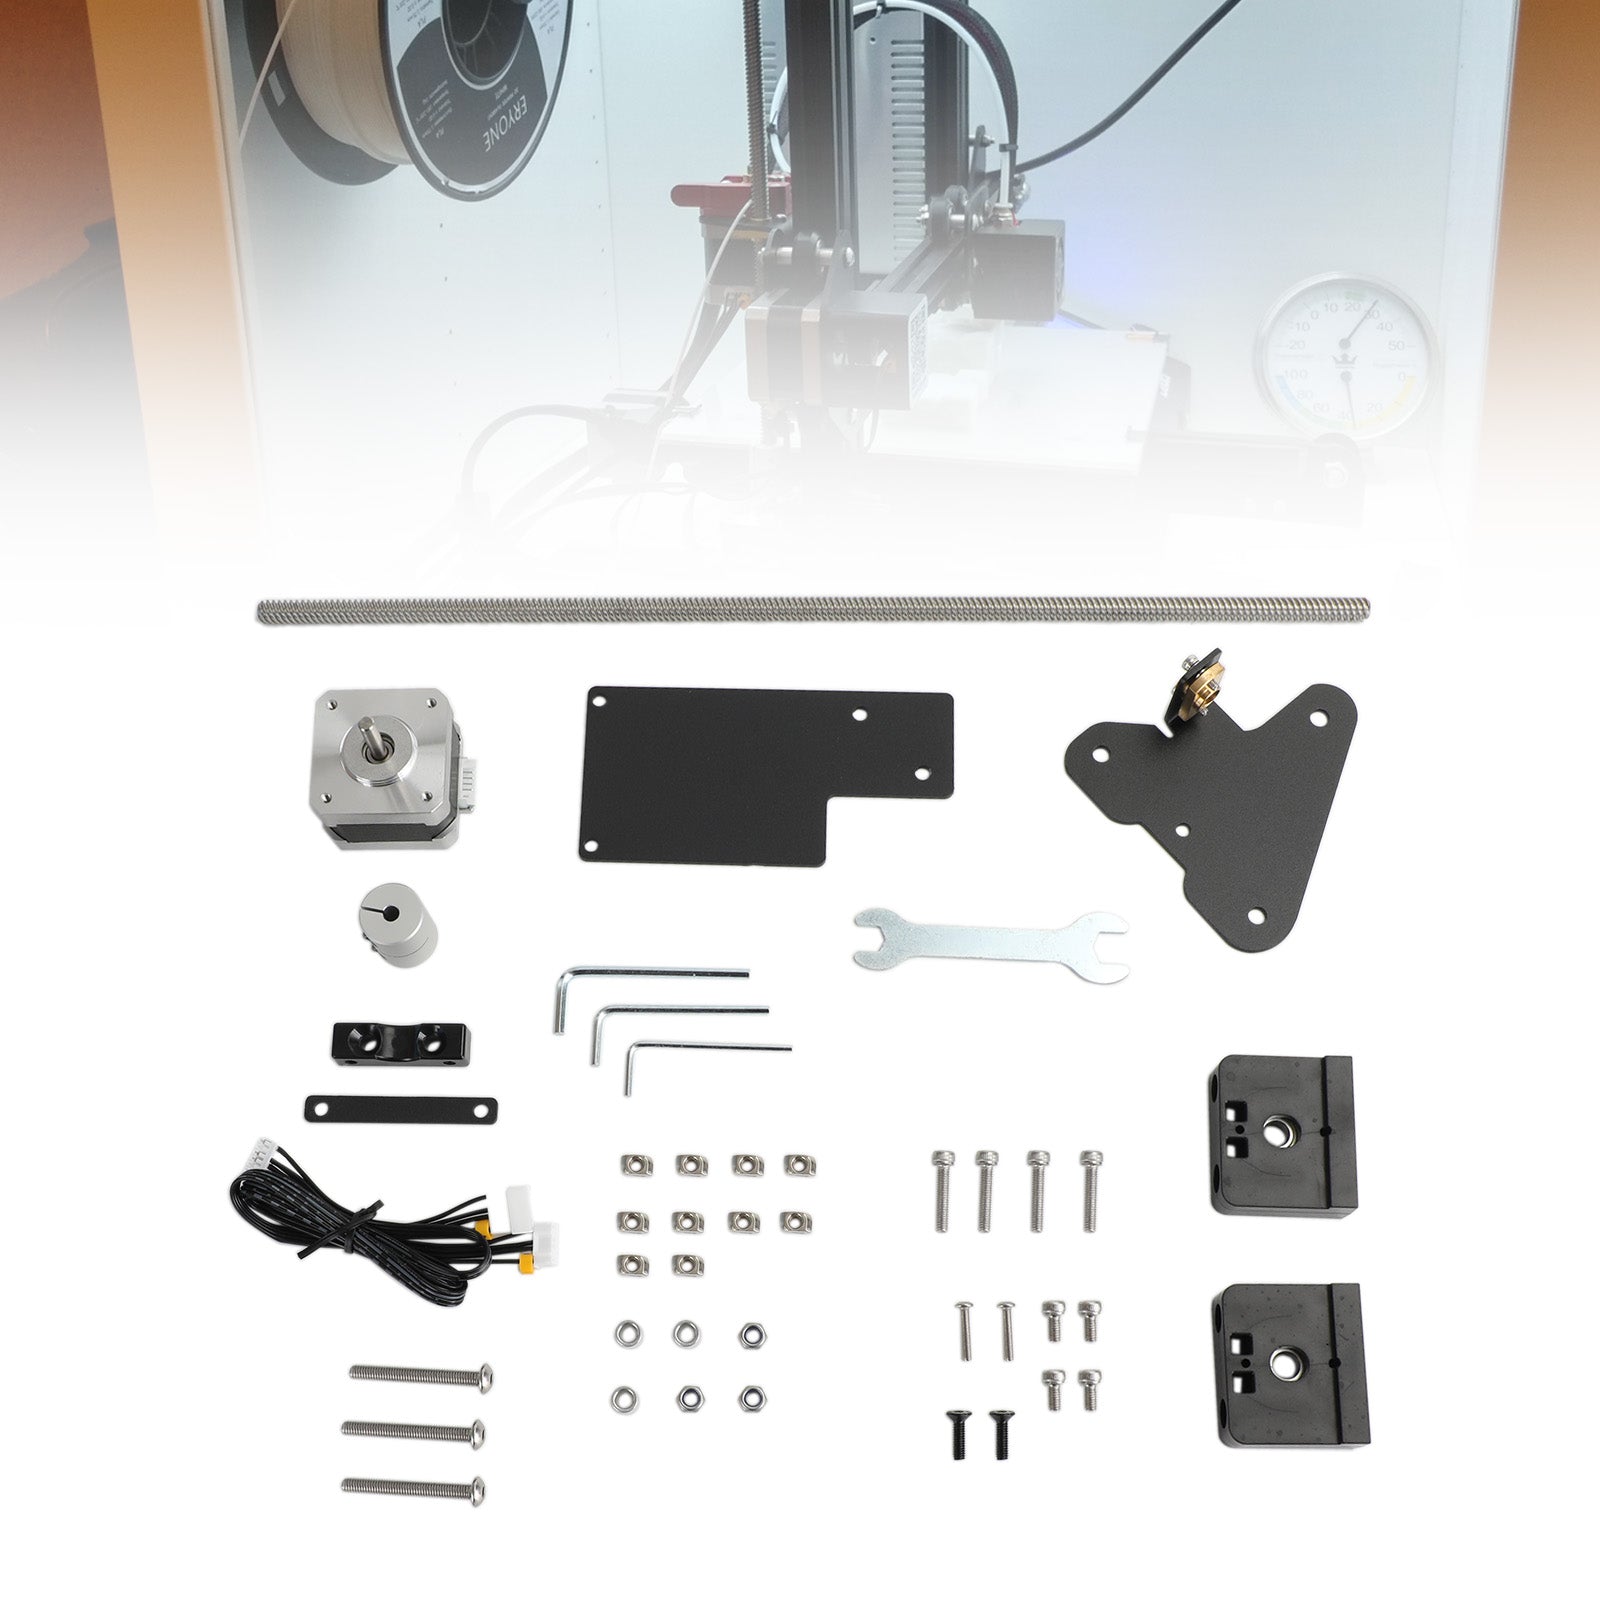
1 * 3D Printer Dual Z Axis Upgrade Kit
(Attached accessories as shown in the picture)
Shipping:
Free Shipping
Delivery Time: 2-6 working days
Warranty:
Returns: Customers have the right to apply for a return within 60 days after the receipt of the product
24-Hour Expert Online: Solve your installation and product problems


