Descripción
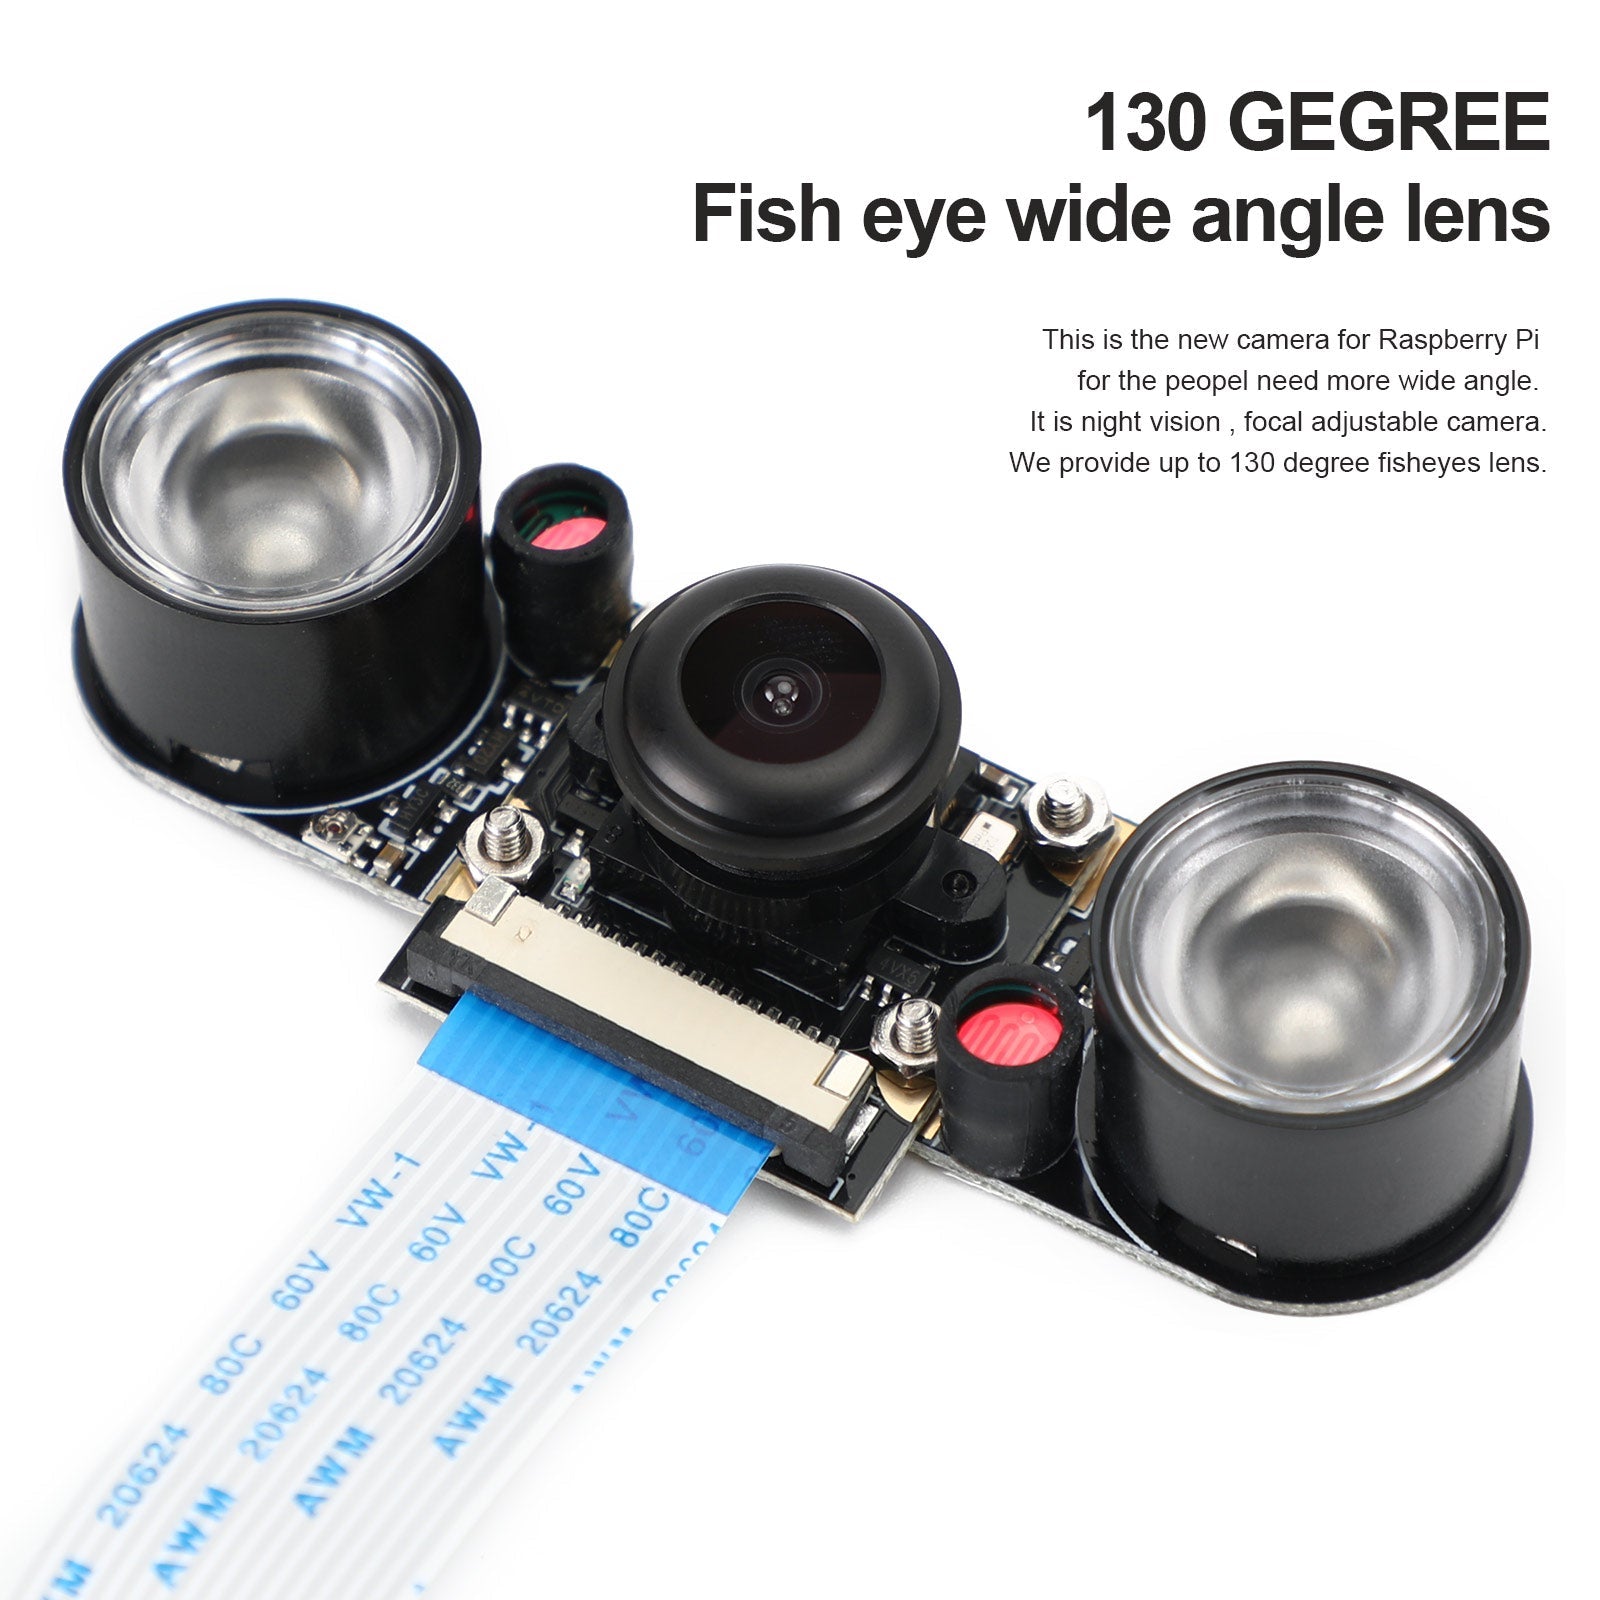
130 Degree Cam + Light:
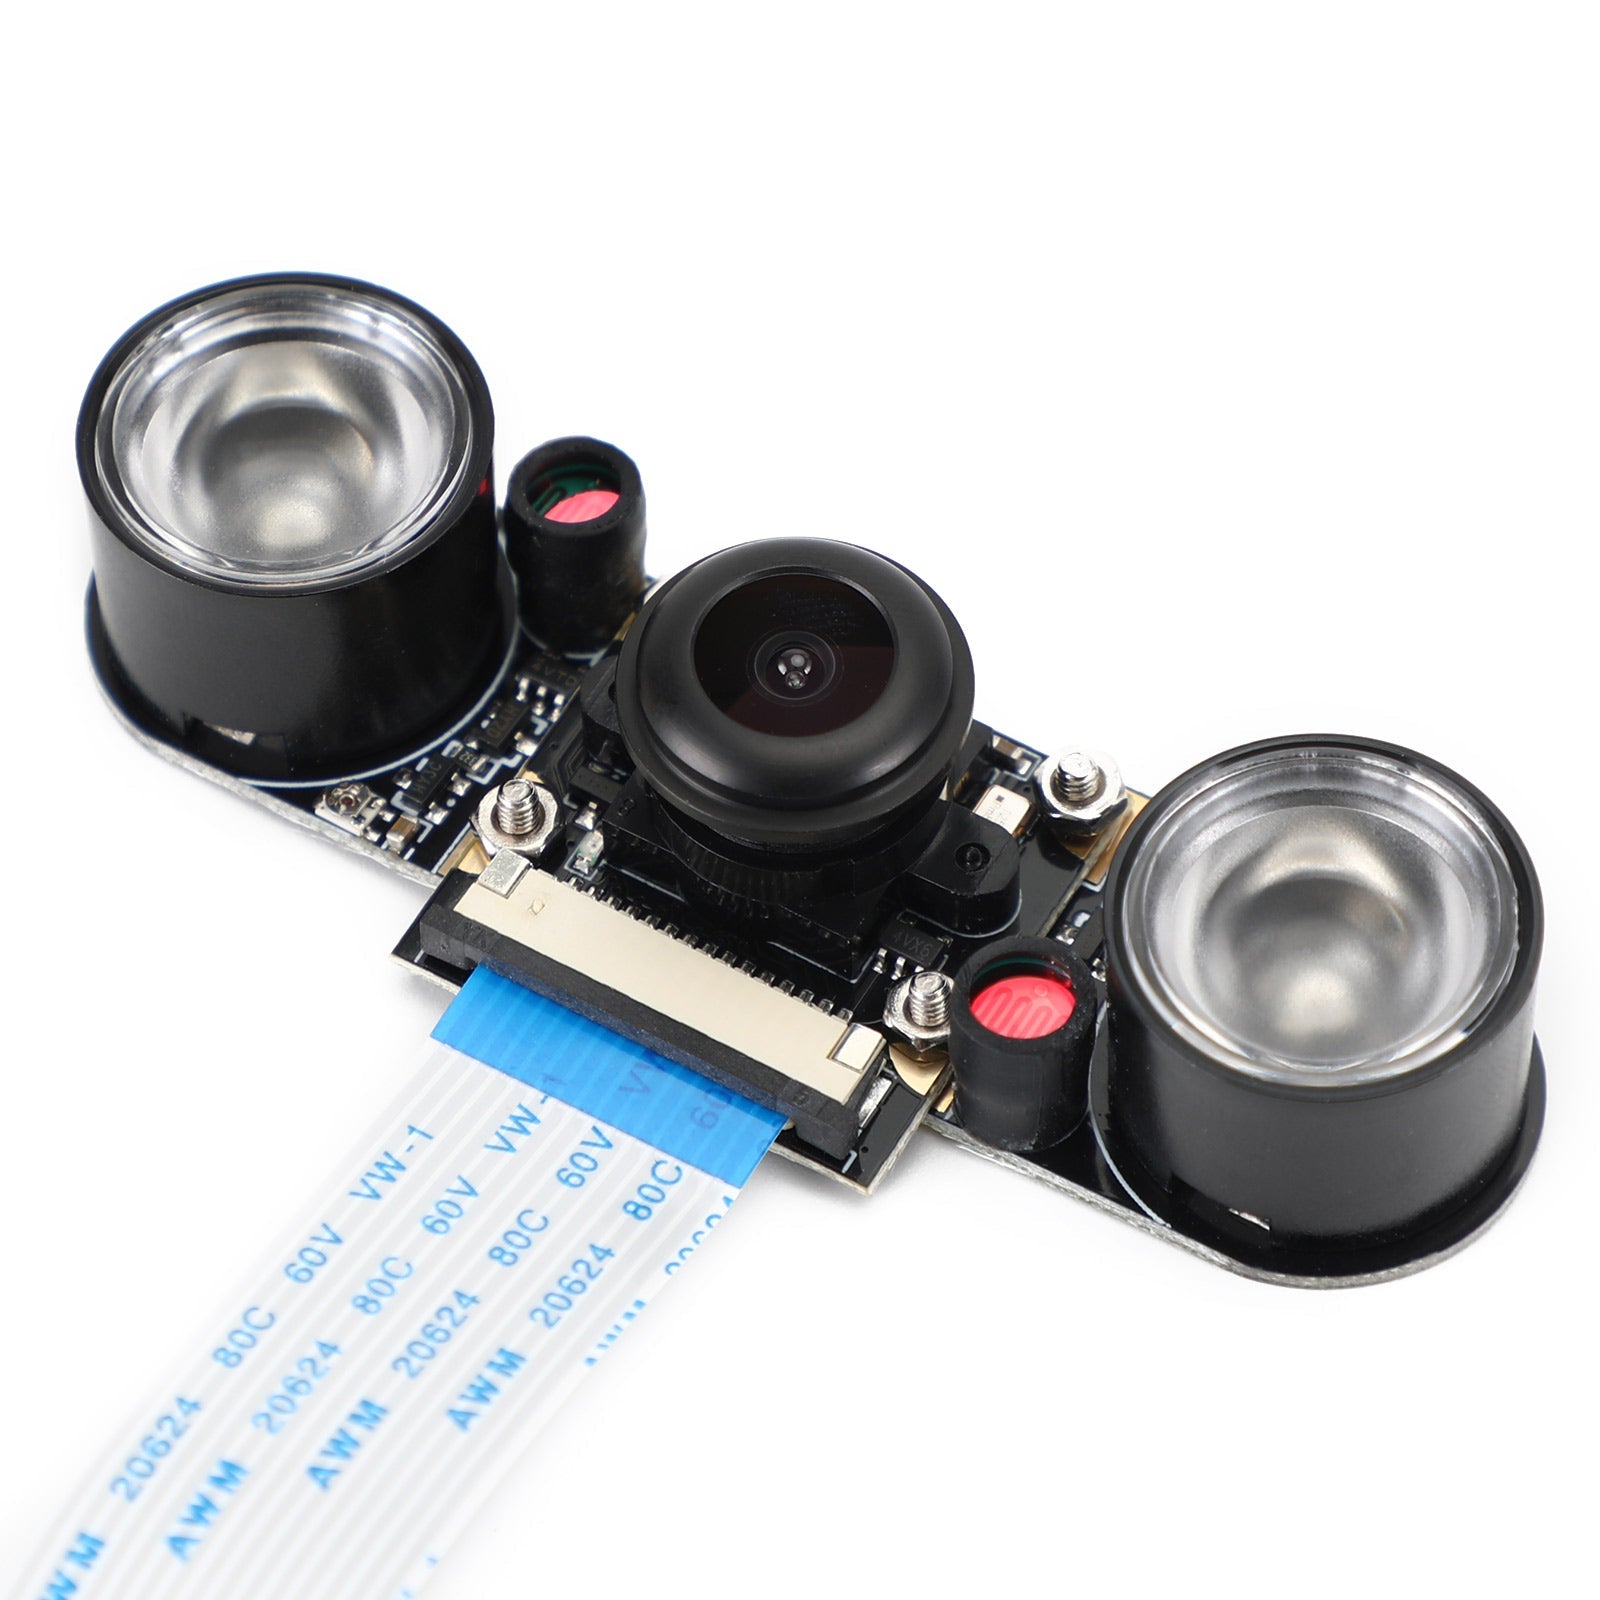
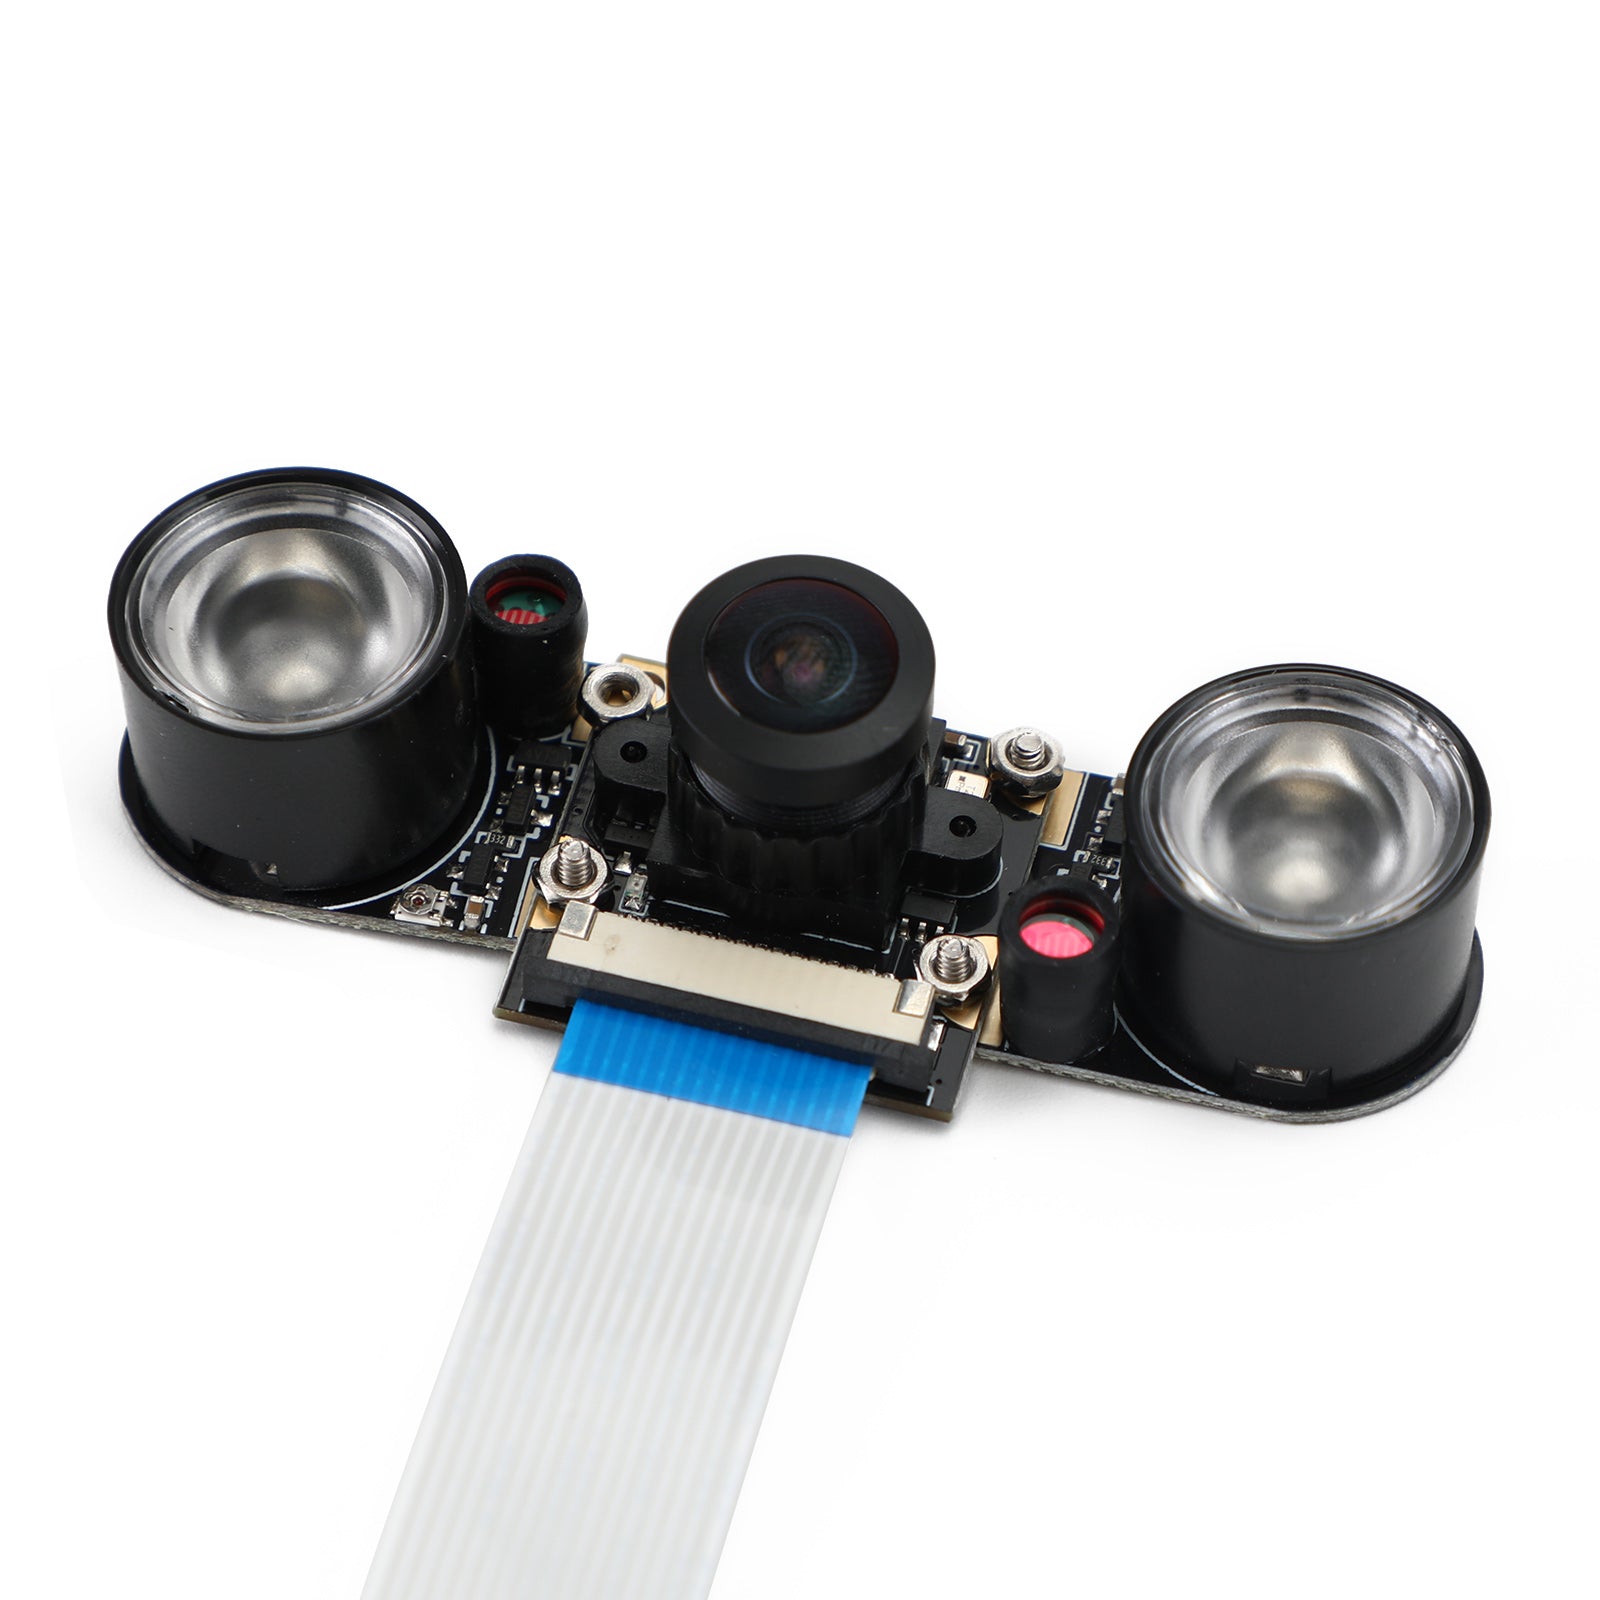
Camera 130 Degree 5MP Night View Camera + Infrared Light Wide Angle RPI Camera Fit for Raspberry Pi 4B 3B+ 3B
Description :
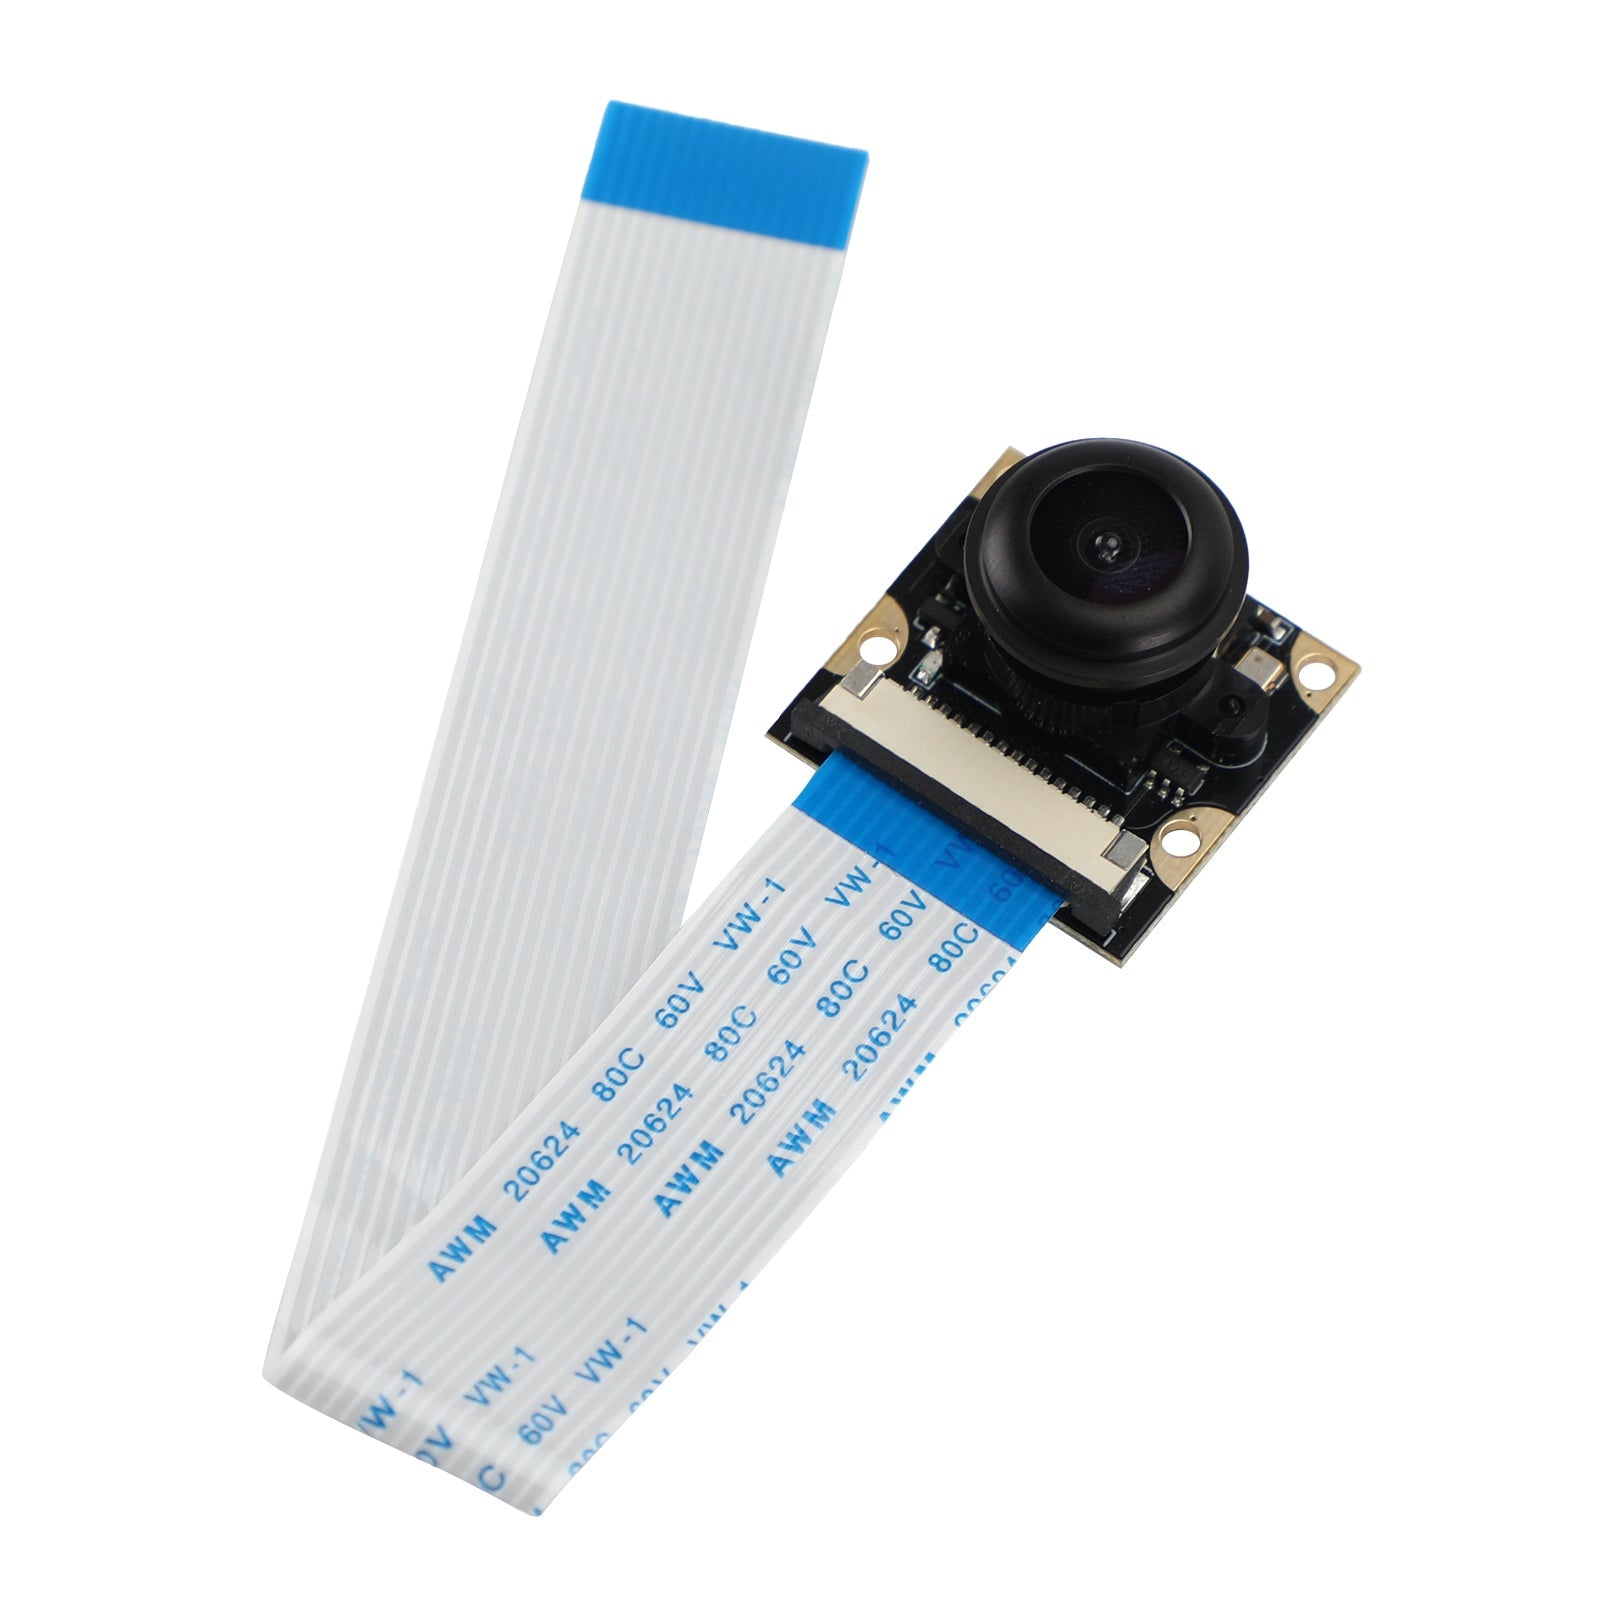
This is the new camera for Raspberry Pi for the peopel need more wide angle. It is night vision , focal adjustable camera.We provide up to 130 degree fisheyes lens.
Feature :
1. Fish eye wide angle lens , up to 130 gegree
2. Night vision camera
3. 5 MP pixel
4. Focal adjustable
Specifications :
1. 5 megapixel OV5647 sensor
2. CCD size : 1/4inch
3. Sensor best resolution : 1080p
4. 4 screw holes: used for attachment IR lights , and for 3.3V electric conduction
5. Focal Length : 2.1
6. Diagonal angle : 130
7. Dimension: 25mm x 24mm
How to use Raspberry Pi Camera
1. Install Raspbian system into SD card and insert to Raspberry Pi, connect the display to Raspberry Pi, Connect the camera to Raspberry Pi correctly.
2. Open the terminal and run
sudo raspi-config
3. Choose the Interface--Enable Camera , enter it , then it the Raspberry Pi will restart automatically ( if not , you can restart it by yourself)
Open the terminal again , run
raspistill –t 5000 –o test.jpg
then the camera will be on.The “5000”means the camera will open 5 seconds , the “test” is the name of picture , you can change them as your need.
Package Included:
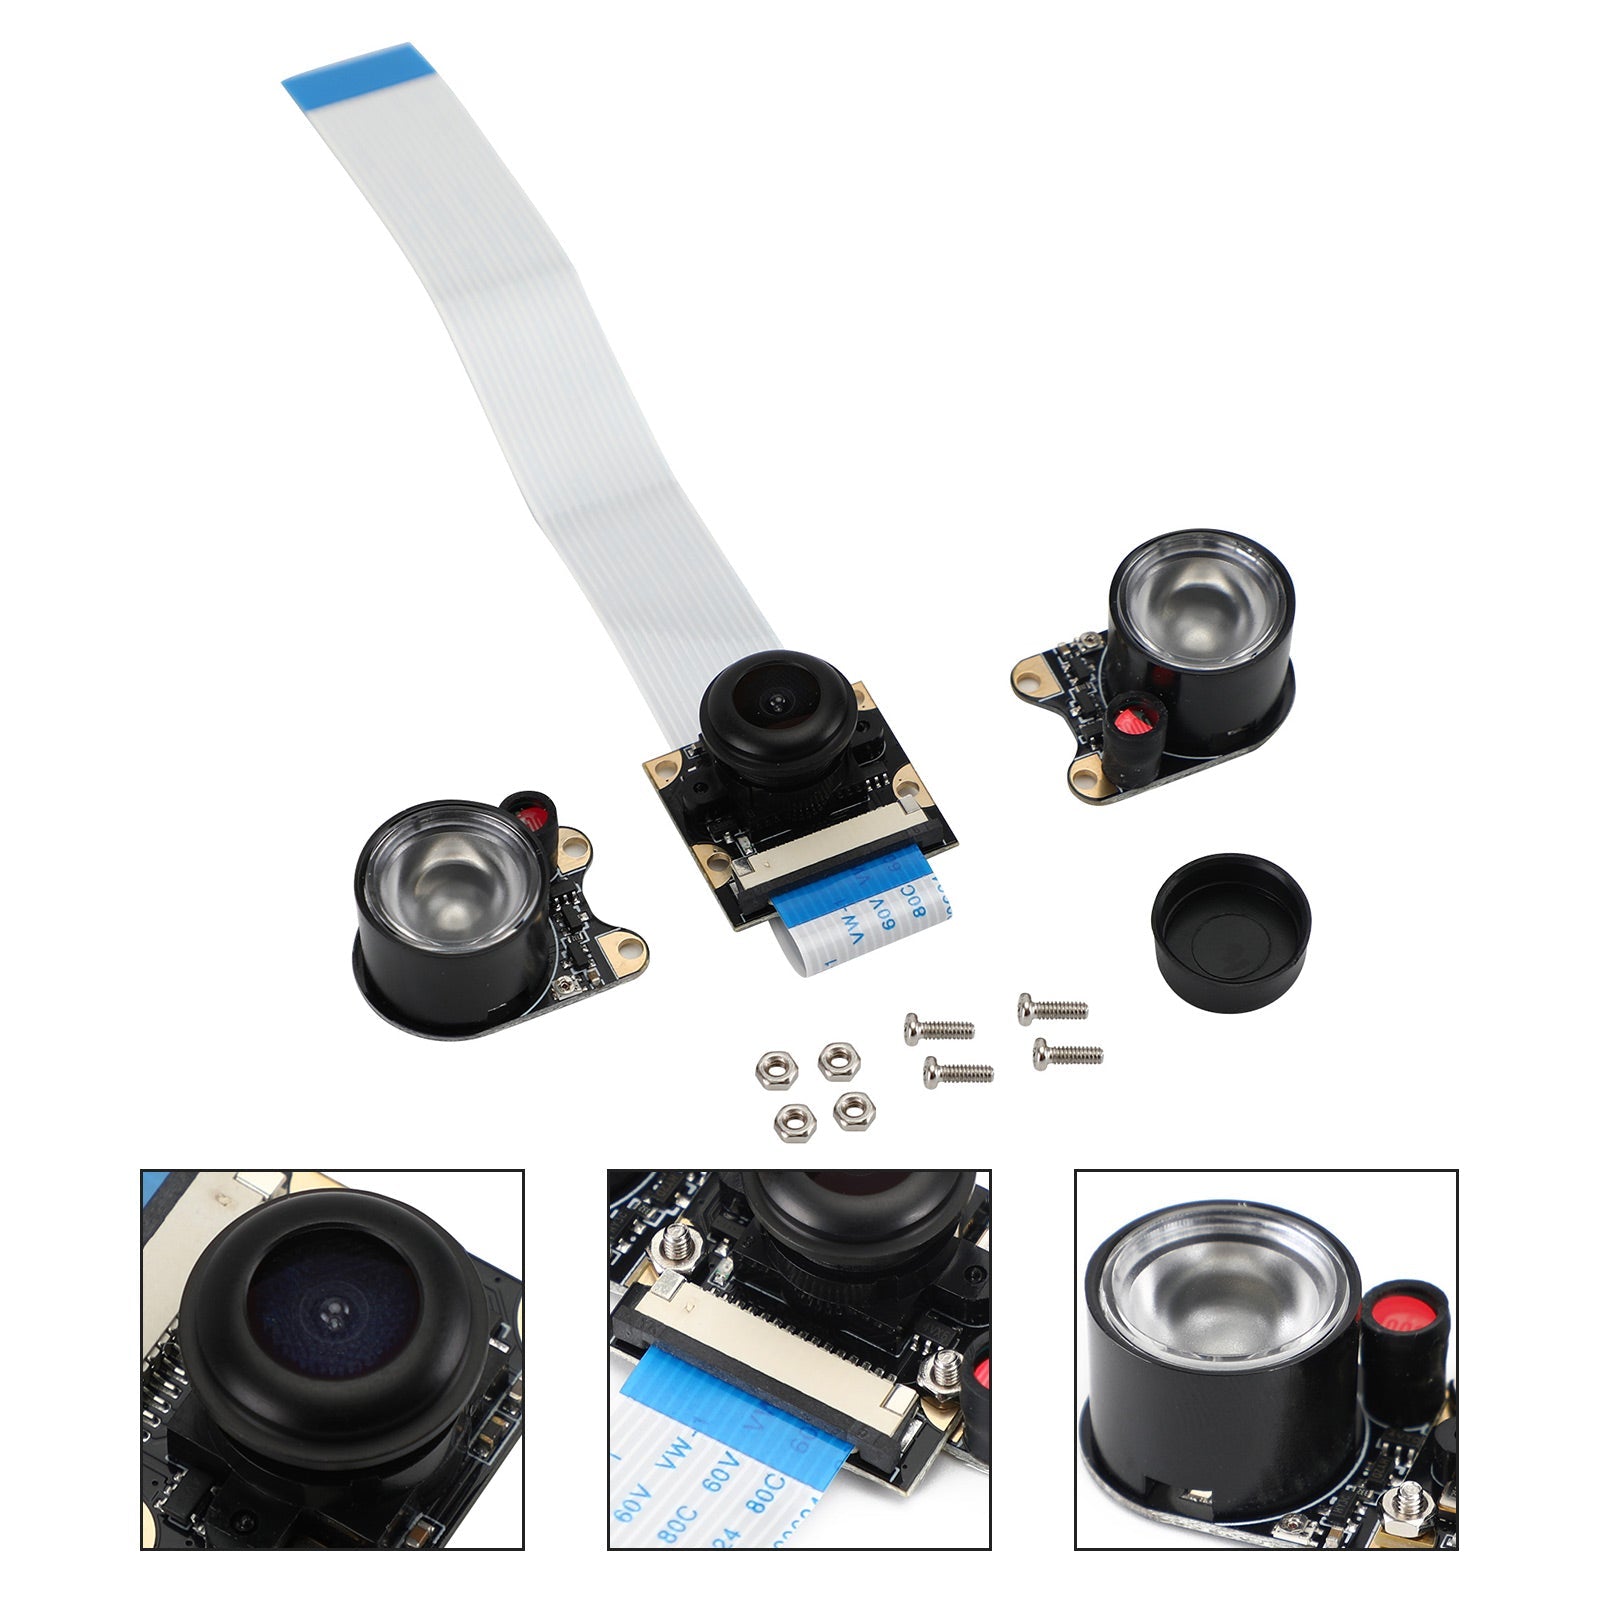
1 x Fish Eye Night ViewCamera
2 x Infrared LED Lights
1 x Screws Pack
160 Degree Cam + Light:
Camera 160 Degree 5MP Night View Camera + Infrared Light Wide Angle RPI Camera Fit for Raspberry Pi 4B 3B+ 3B
Description :
This is the new camera for Raspberry Pi for the peopel need more wide angle. It is night vision , focal adjustable camera.We provide up to 160 degree fisheyes lens.
Feature :
1. Fish eye wide angle lens , up to 160 gegree
2. Night vision camera
3. 5 MP pixel
4. Focal adjustable
Specifications :
1. 5 megapixel OV5647 sensor
2. CCD size : 1/4inch
3. Sensor best resolution : 1080p
4. 4 screw holes: used for attachment IR lights , and for 3.3V electric conduction
5. Focal Length : 2.1
6. Diagonal angle : 160
7. Dimension: 25mm x 24mm
How to use Raspberry Pi Camera
1. Install Raspbian system into SD card and insert to Raspberry Pi, connect the display to Raspberry Pi, Connect the camera to Raspberry Pi correctly.
2. Open the terminal and run
sudo raspi-config
3. Choose the Interface--Enable Camera , enter it , then it the Raspberry Pi will restart automatically ( if not , you can restart it by yourself)
Open the terminal again , run
raspistill –t 5000 –o test.jpg
then the camera will be on.The “5000”means the camera will open 5 seconds , the “test” is the name of picture , you can change them as your need.
Package Included:
1 x Fish Eye Night ViewCamera
2 x Infrared LED Lights
1 x Screws Pack
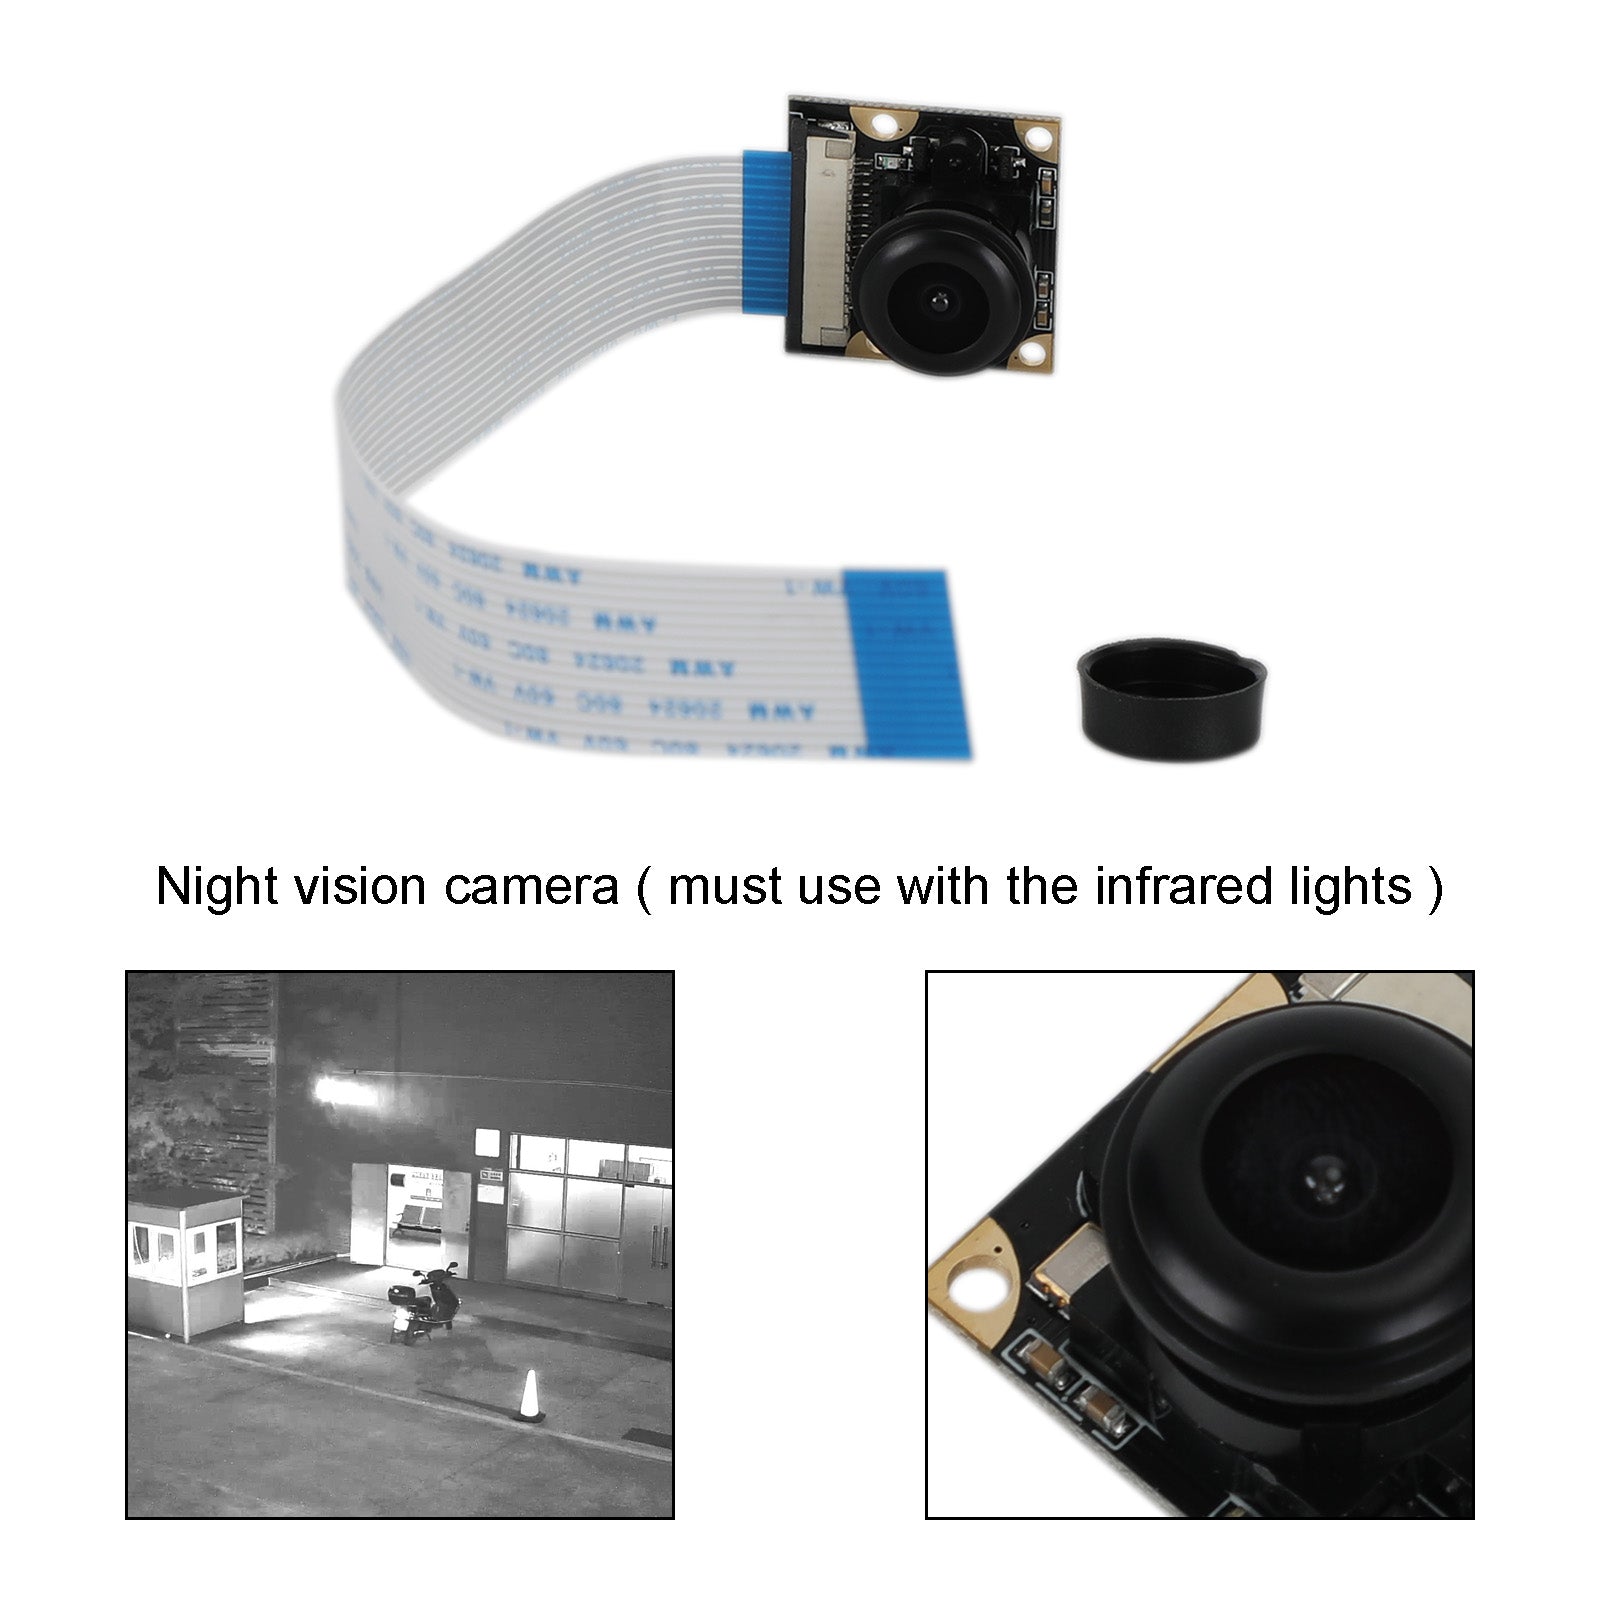
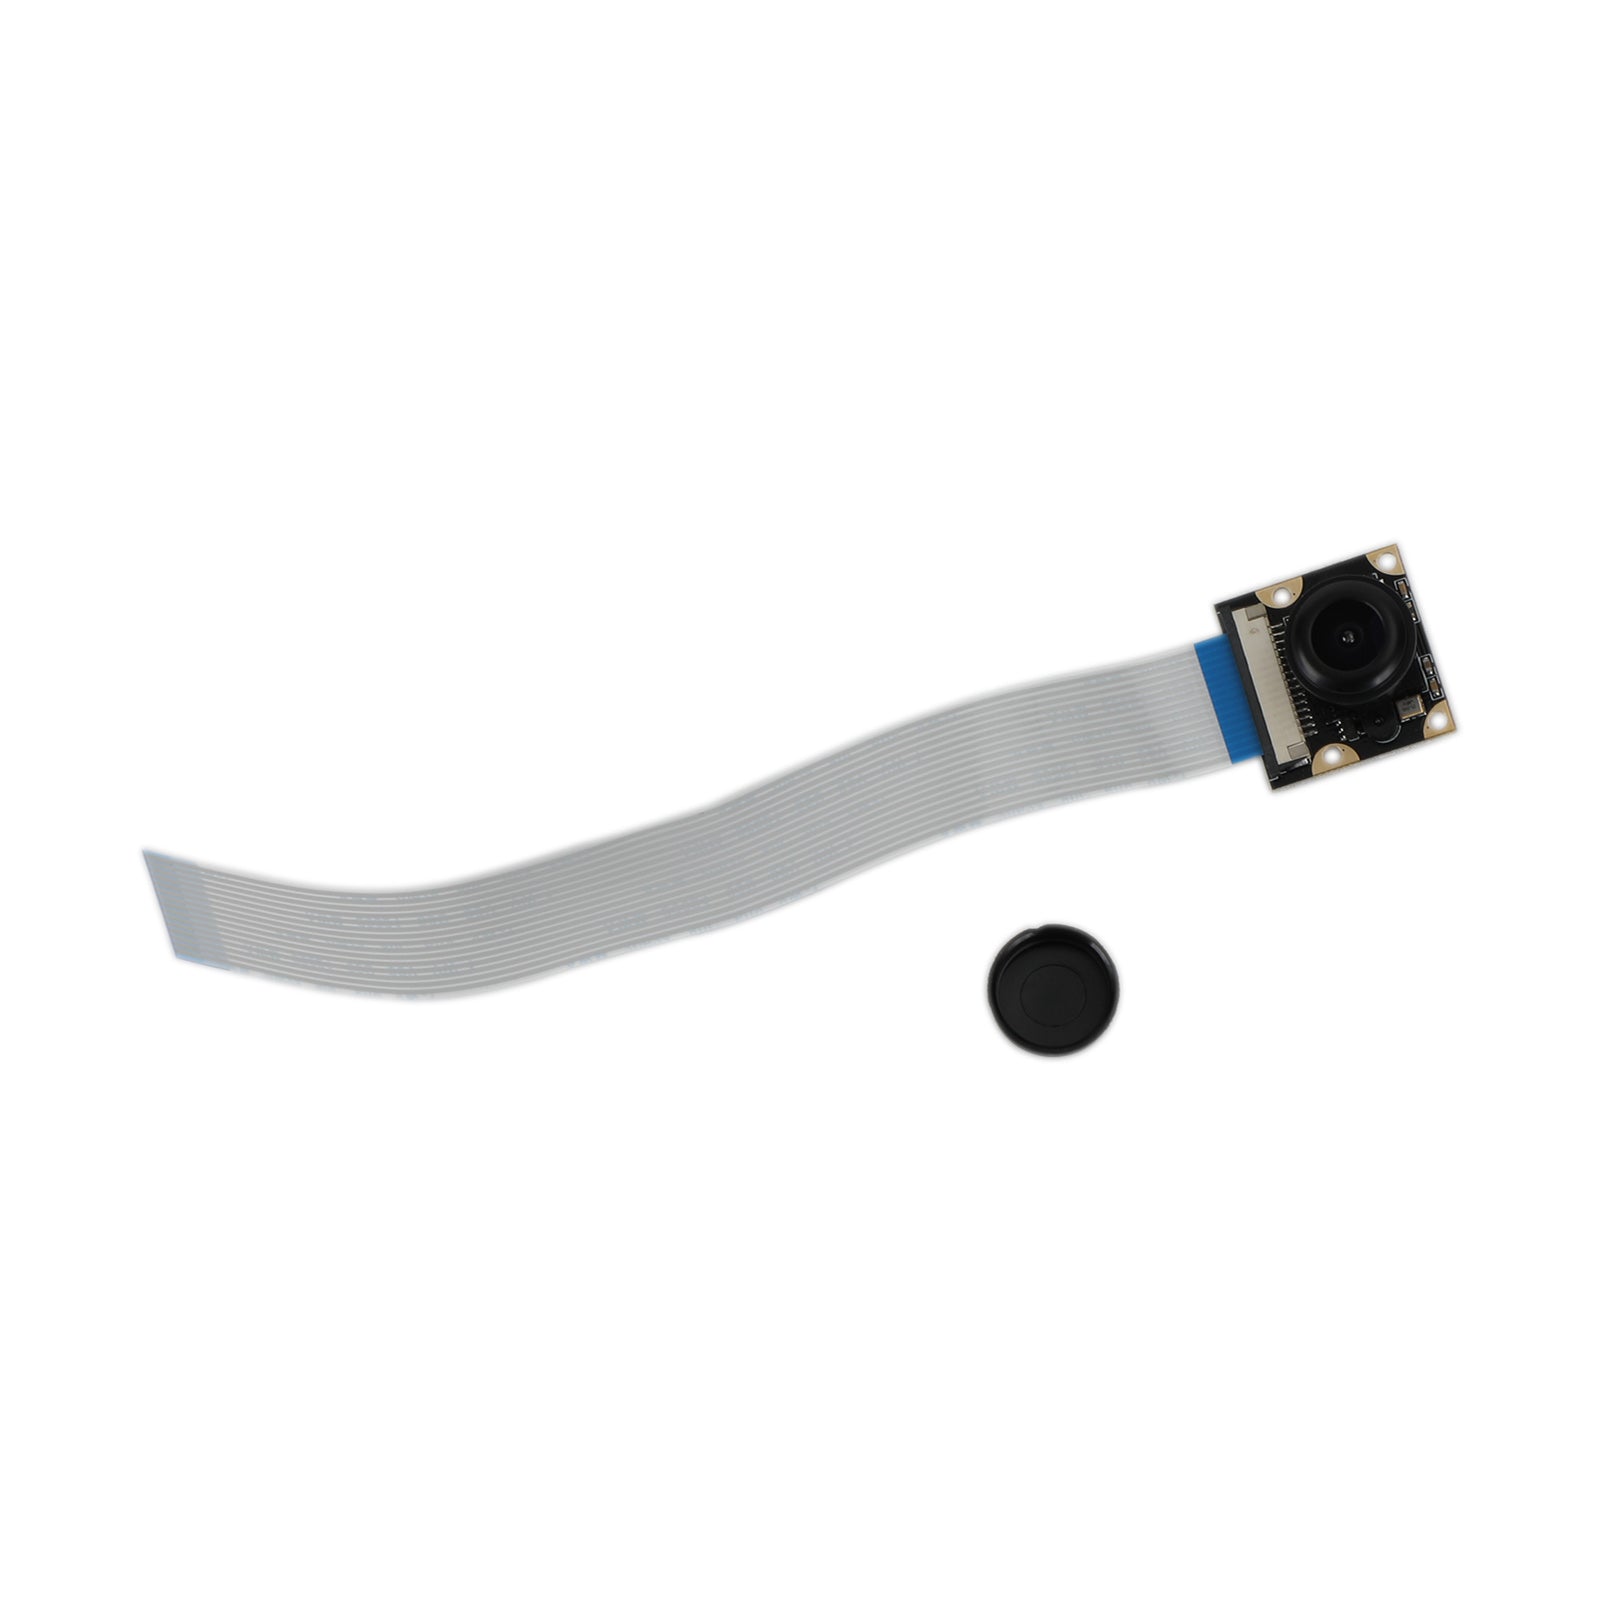
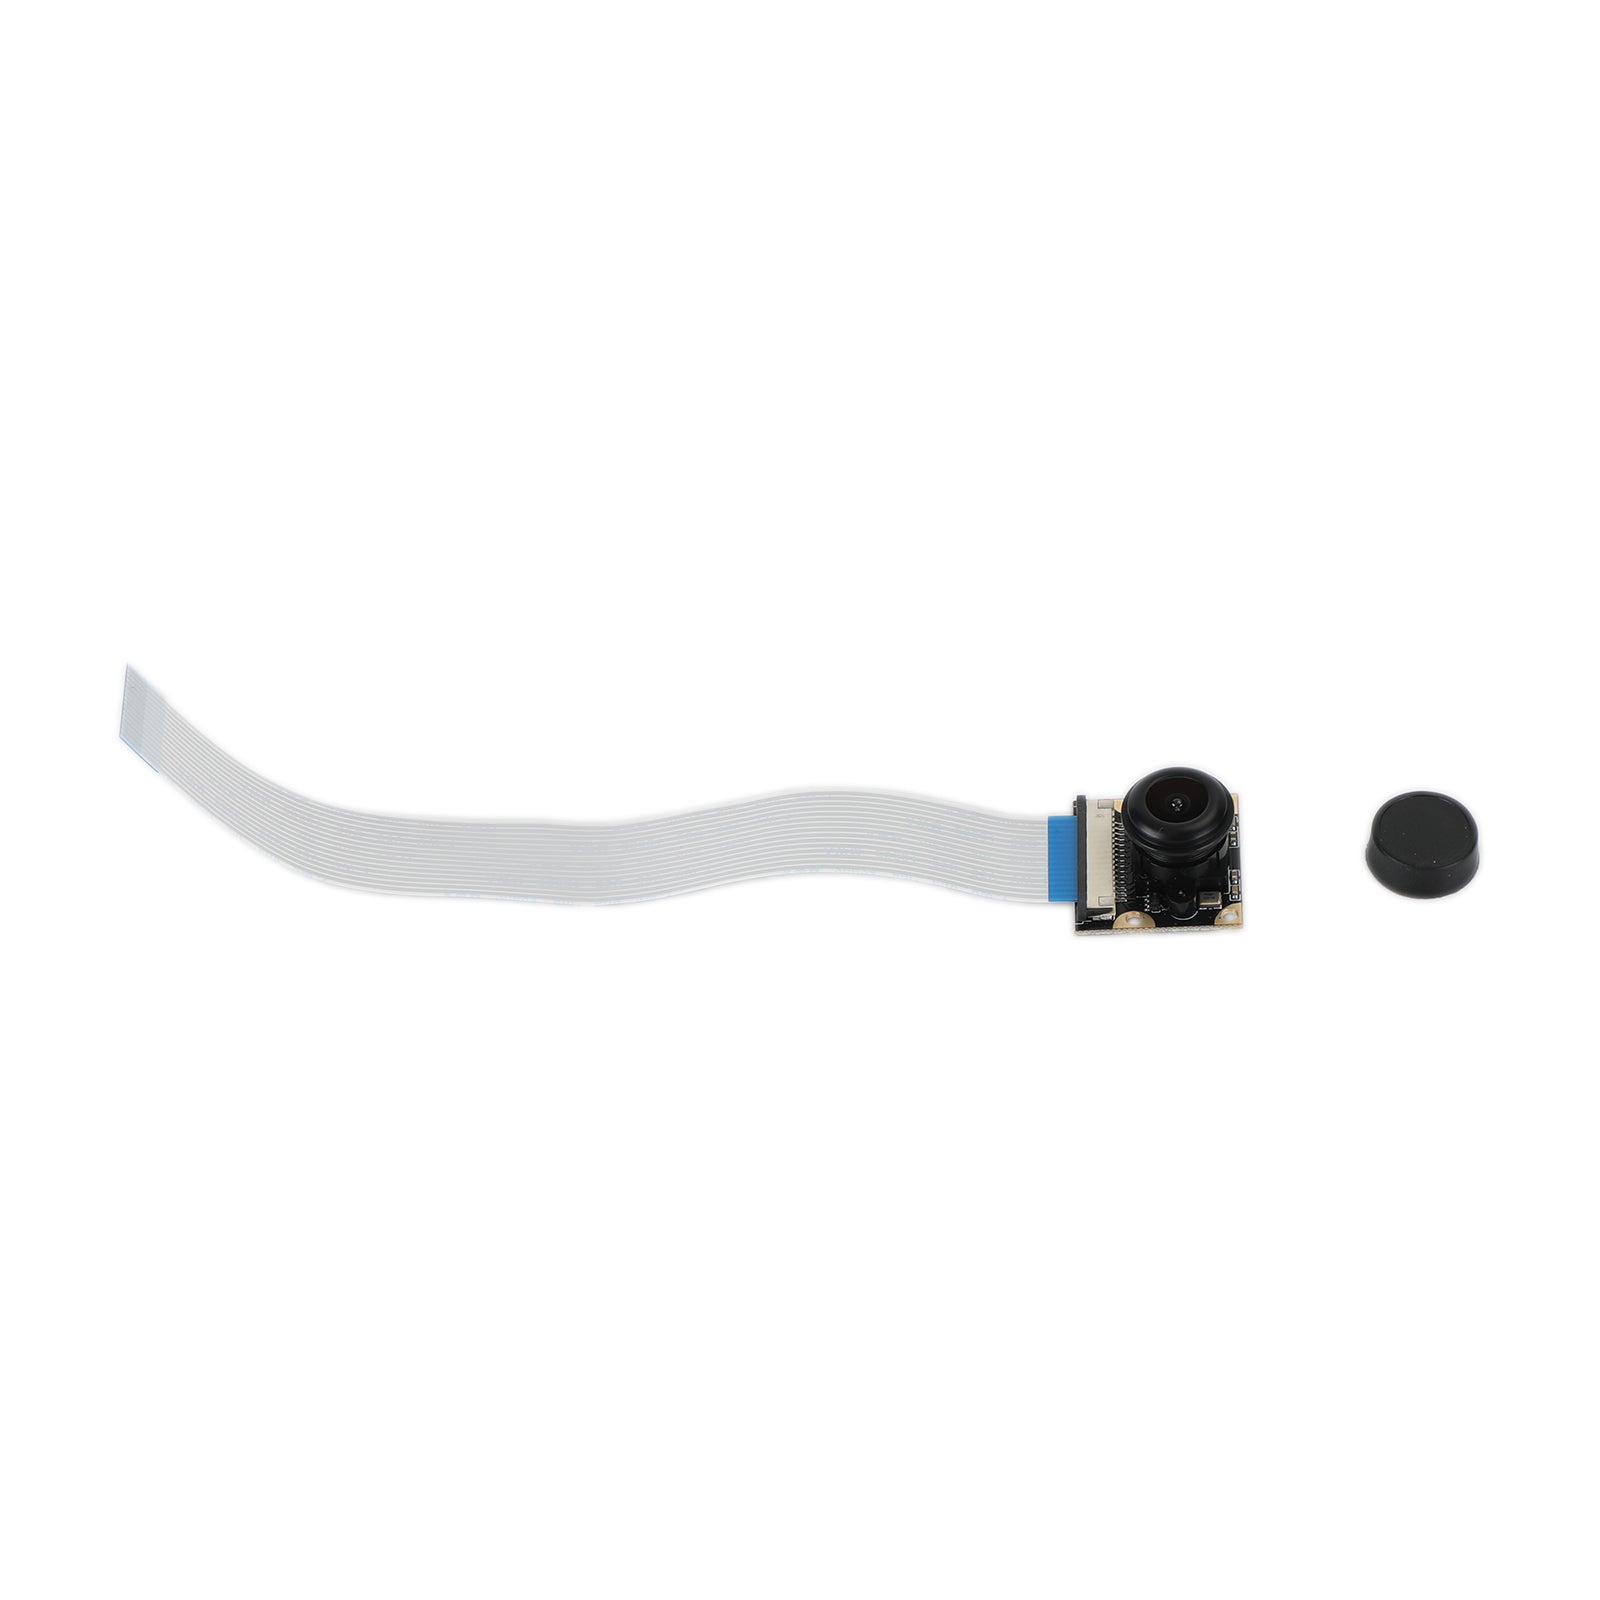
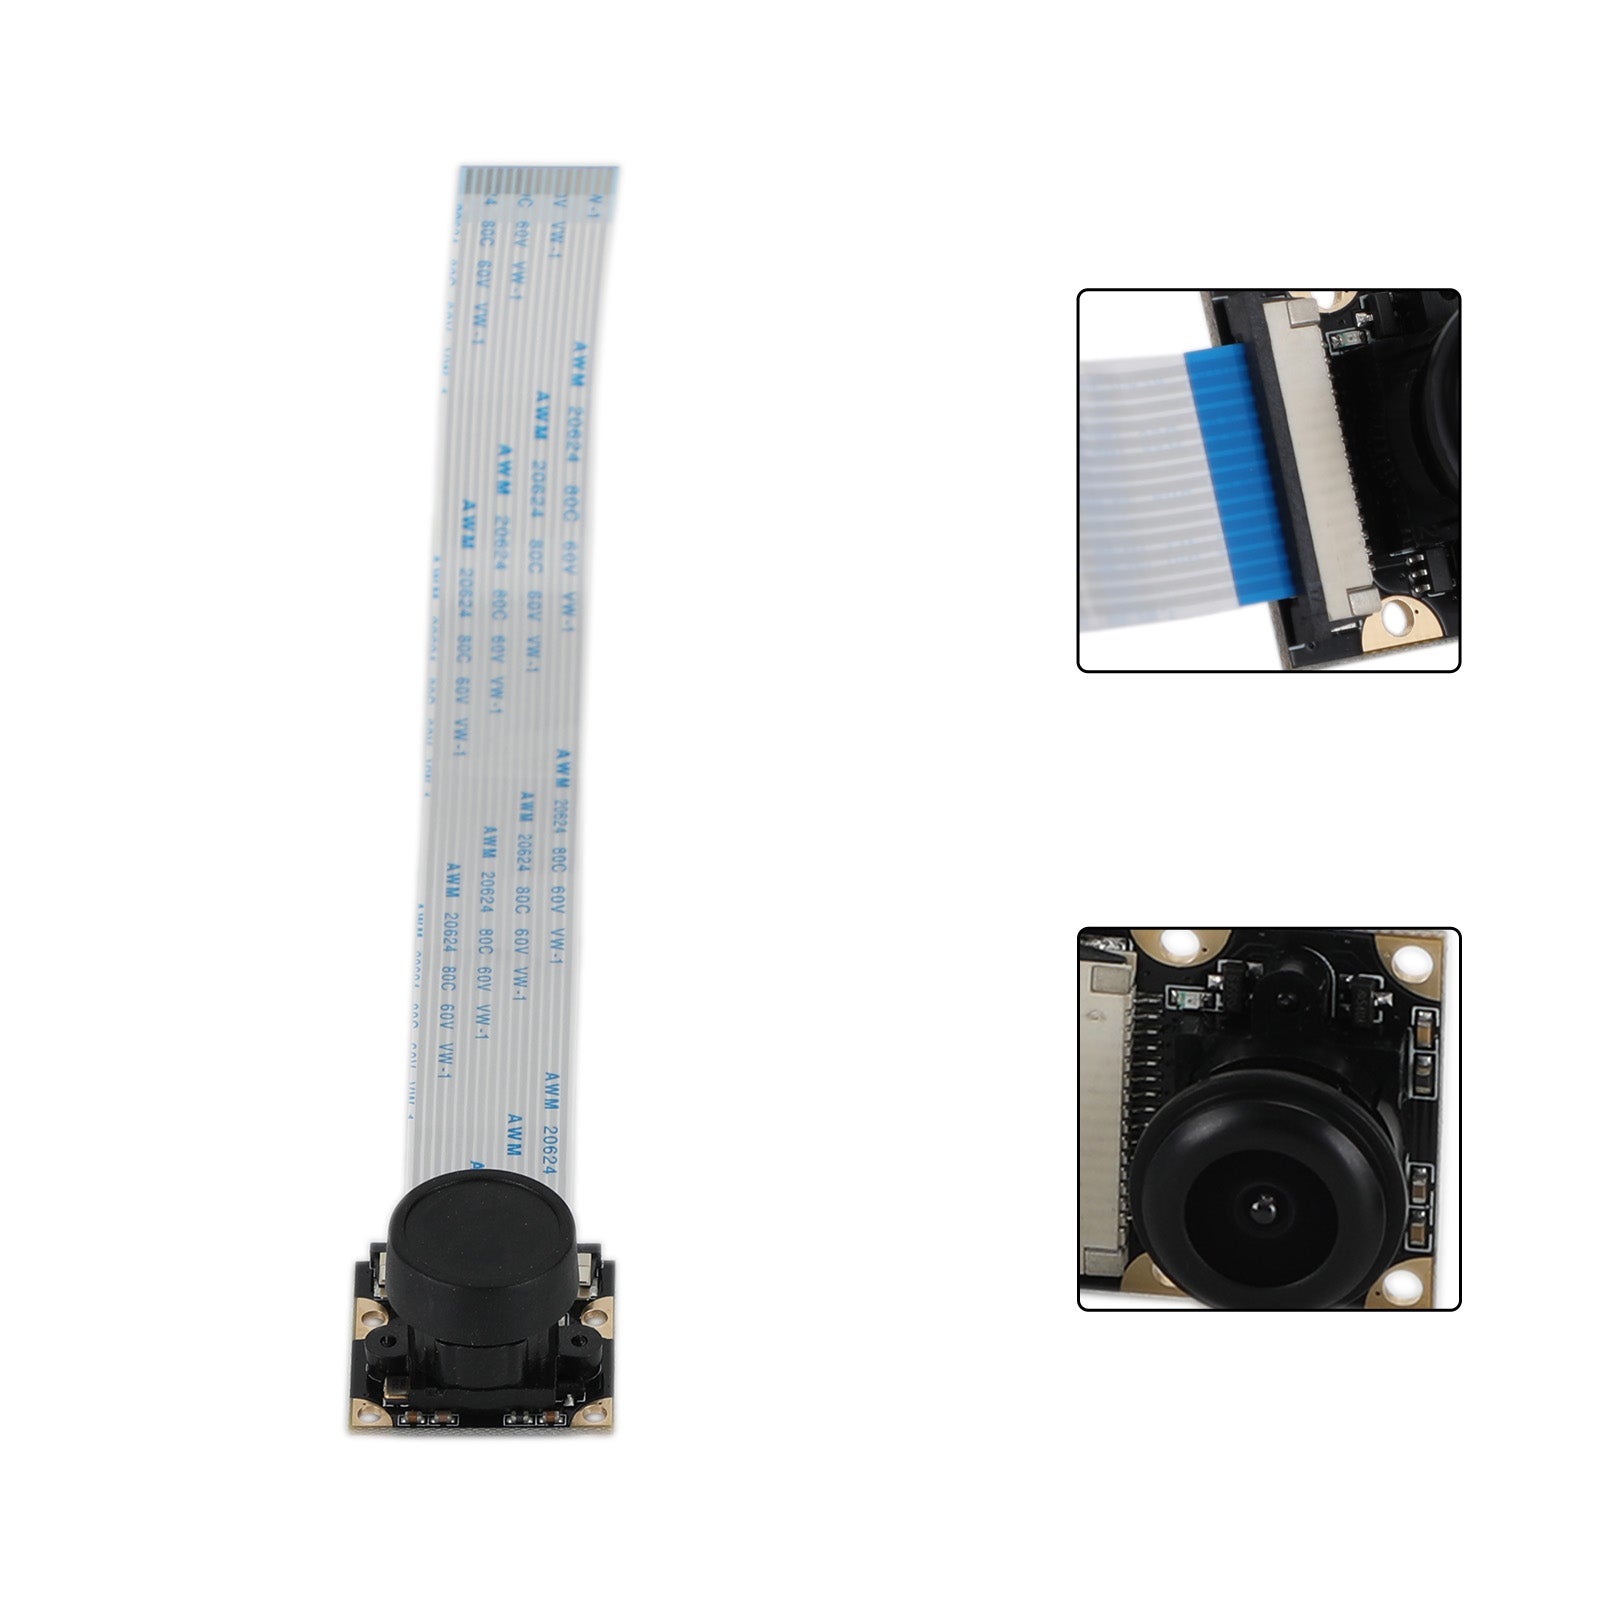
130 Degree Cam(No light):
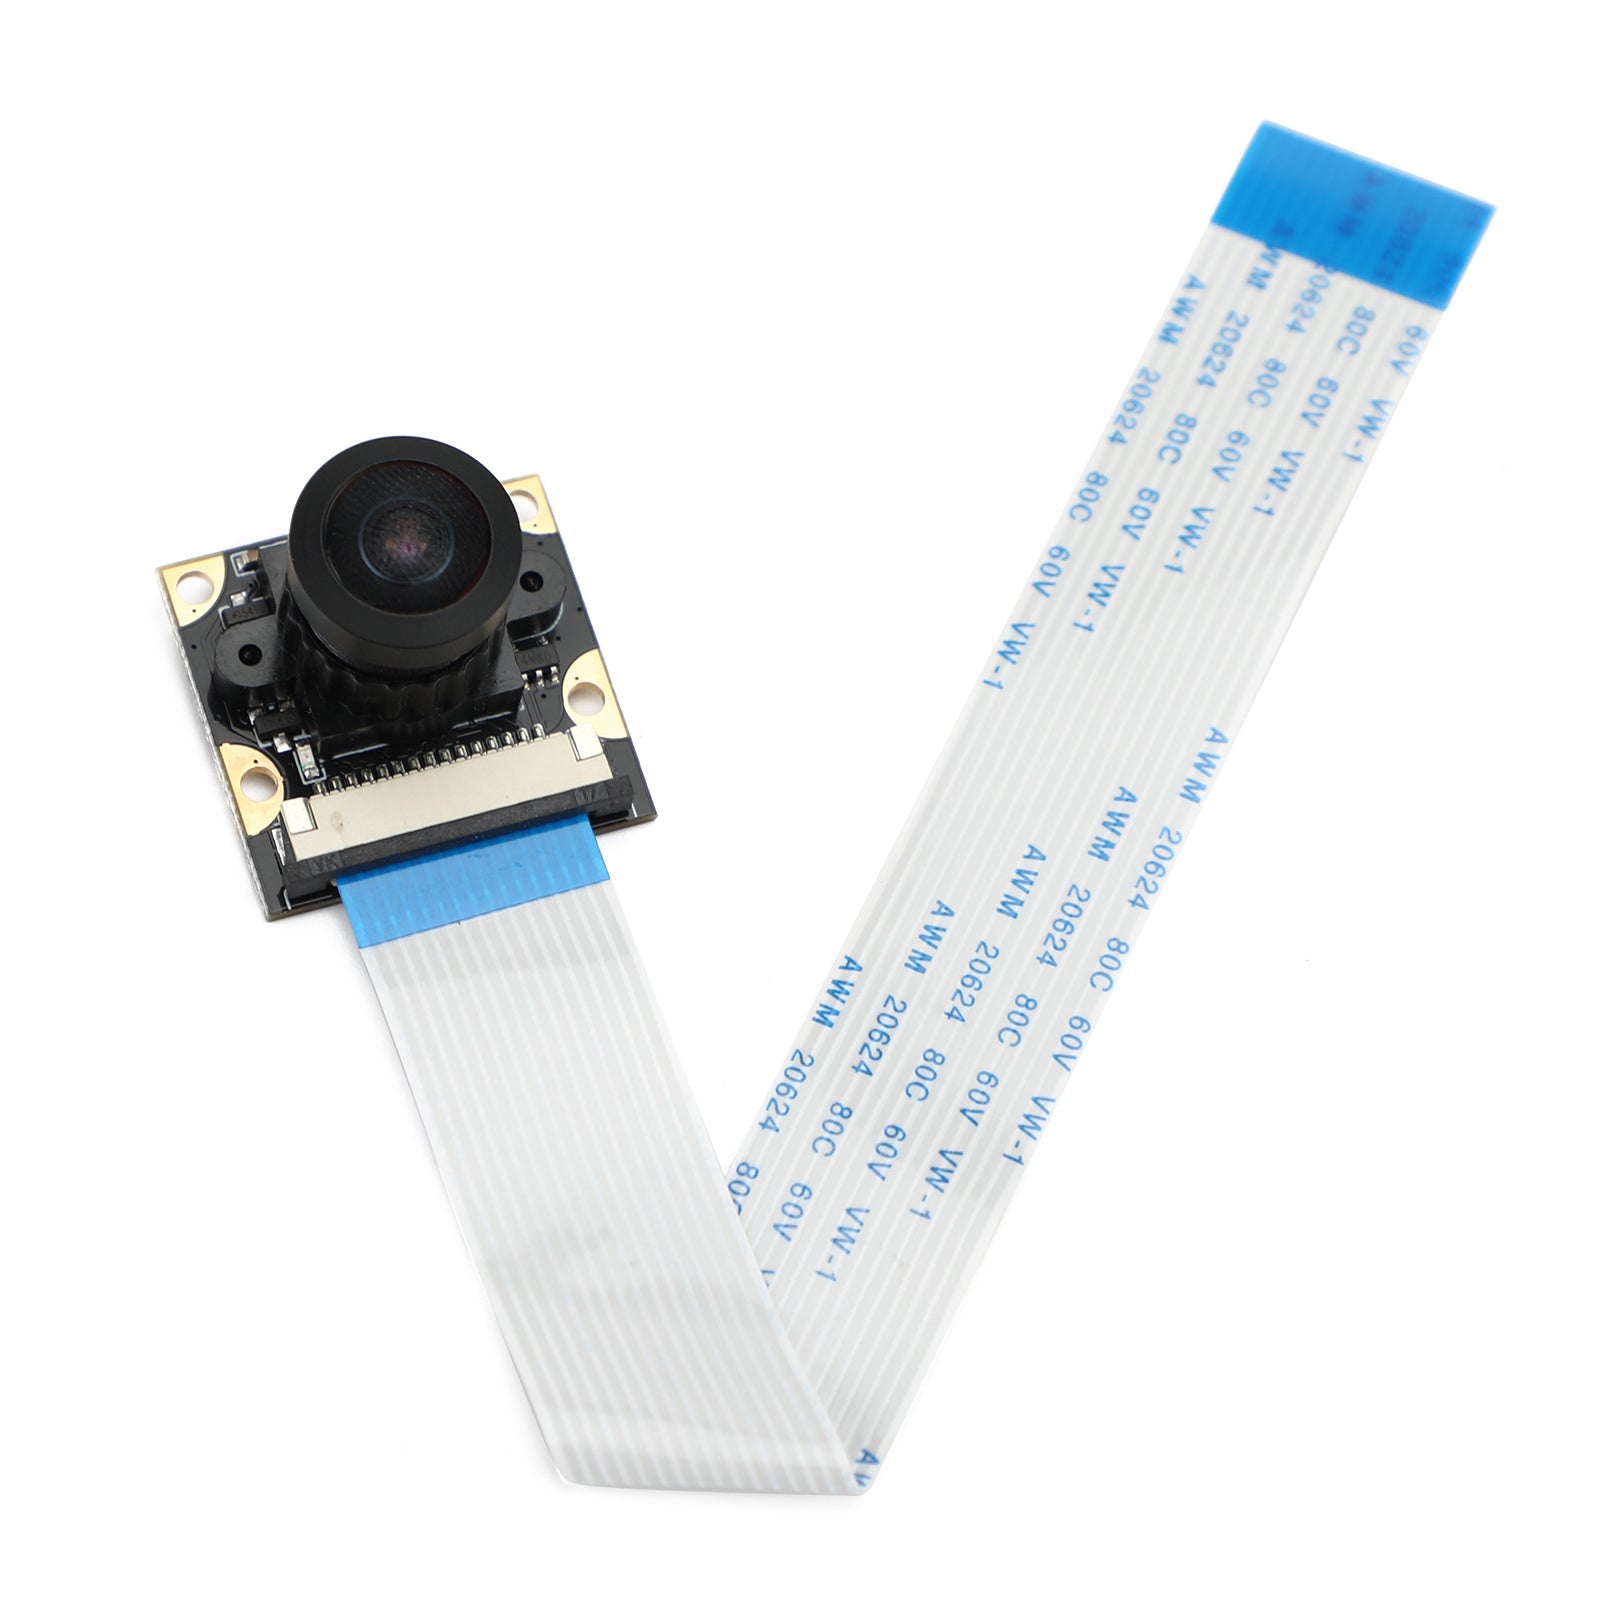
Night View Camera Module 5MP Fisheye 130 Degree Focus Adjustment Camera fit for Raspberry Pi 4 Model B/3B Plus/3B
Features:
1. Fish eye wide angle lens
2. Night vision camera ( must use with the infrared lights )
3. 5 MP pixel
4. Support 1080P resolution
Specifications:
CCD size : 1/4inch
Sensor best resolution : 1080p
4 screw holes
Used for attachment
Focal Length : 2.1
Diagonal angle : 130 degree
Provides 3.3V power output
Dimension: 25mm x 24mm
Package Included:
1 x 130 Degree Camera
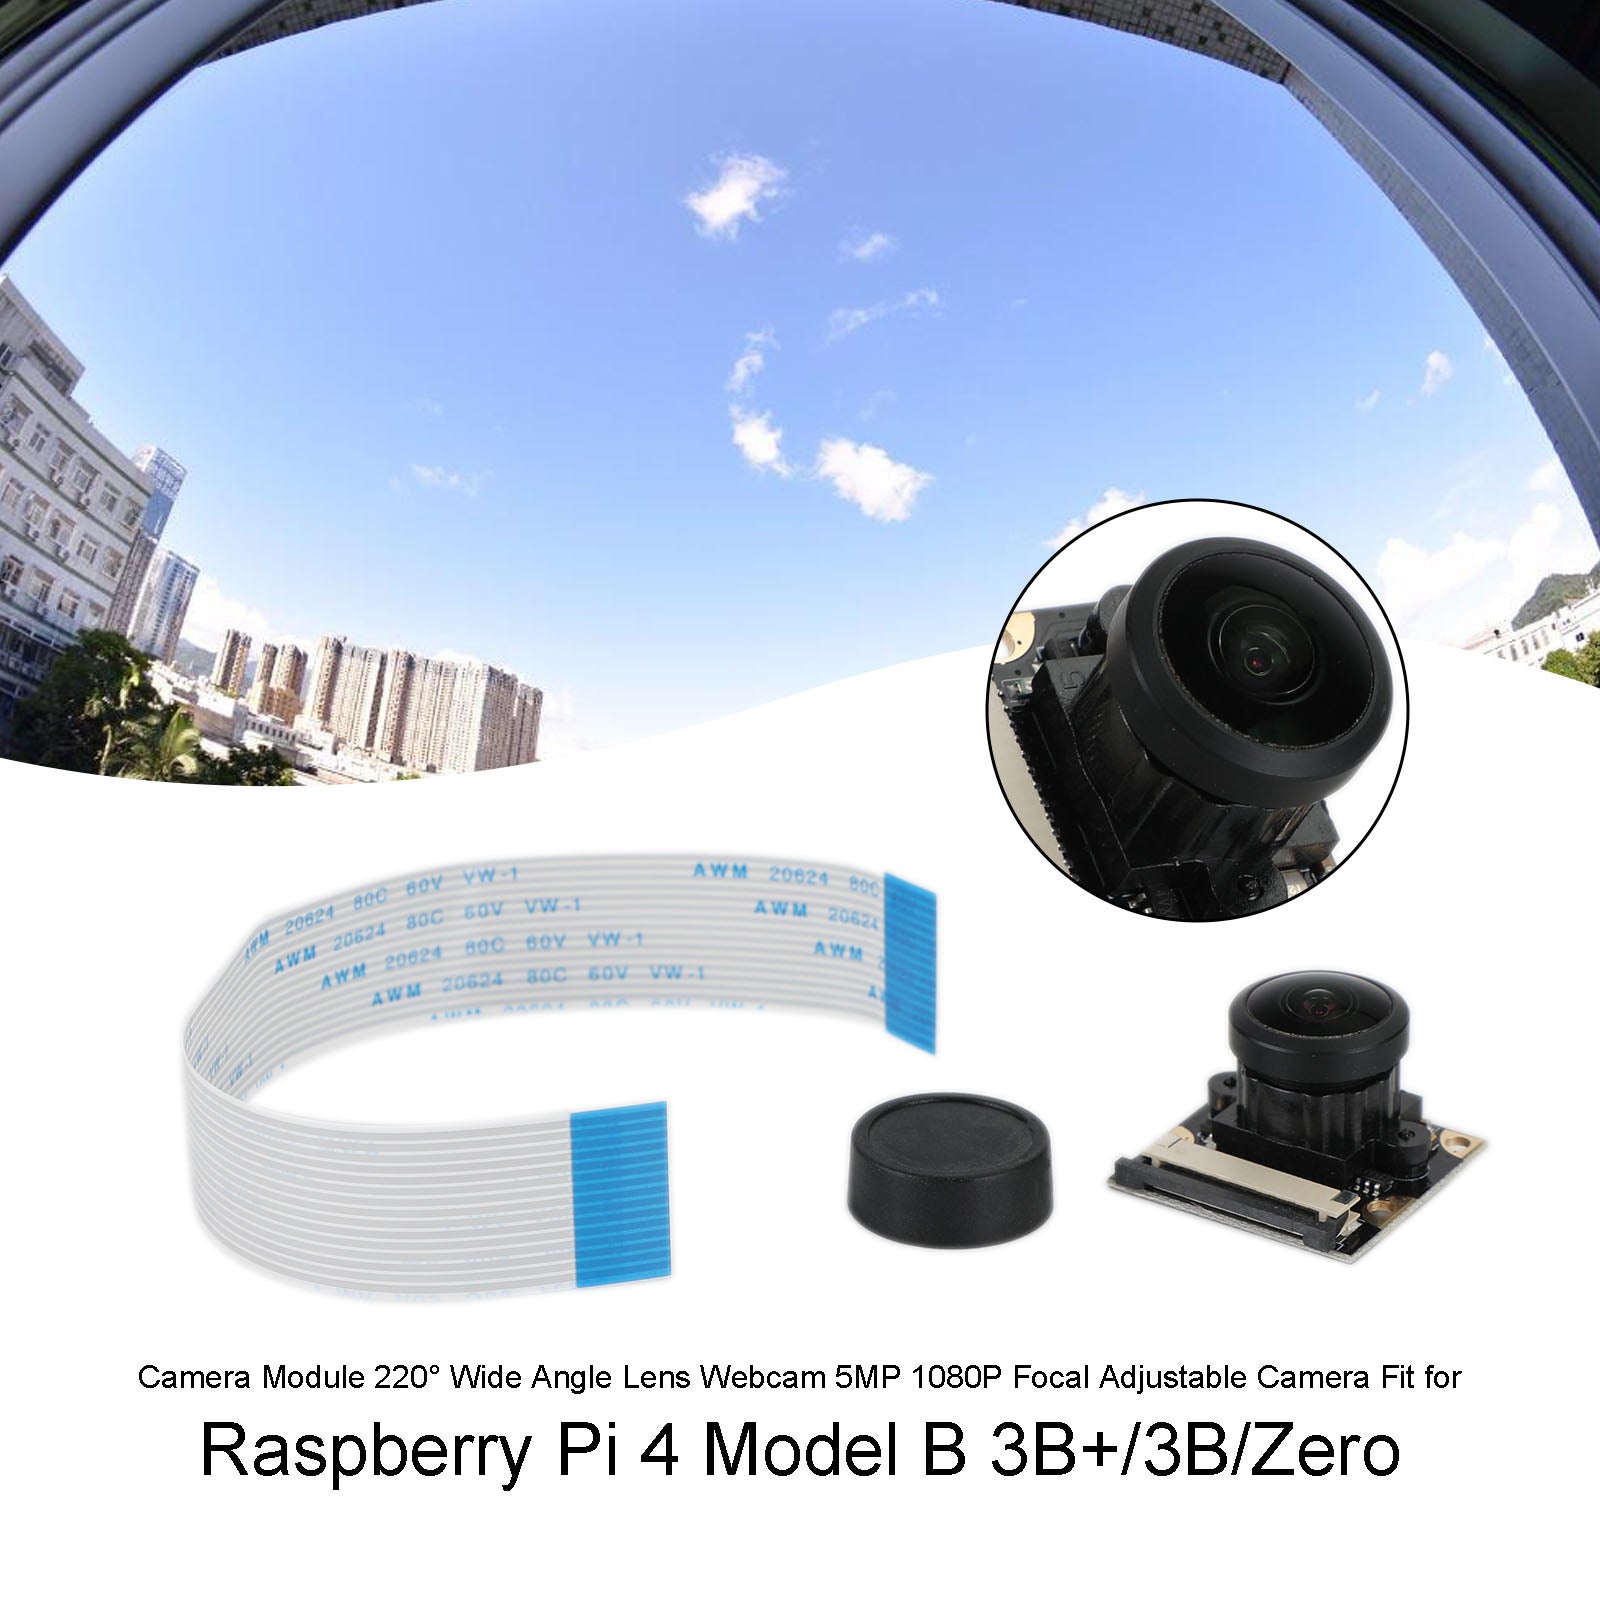
220 Degree Cam(No light):
Camera Module 220° Wide Angle Lens Webcam 5MP 1080P Focal Adjustable Camera Fit for Raspberry Pi 4 Model B 3B+/3B/Zero
Features:
This is new Raspberry Pi camera with 5MP. The angle of lens is 220 degree and focal can be adjusted.
The camera can be used as webcam, surveillance camera, security camera and other use.
Please note that the 220 degree is the technological parameter , which may be little different with actual value.
Specifications:
1. 5 megapixel OV5647 sensor
2. CCD size : 1/4inch
3. Sensor best resolution : 1080p
4. 4 screw holes: used for attachment , connect
3.3V power output
5. Focal length : 2.1
6. Diagonal angle : 220 degree
7. Dimension: 25mm x 24mm
How to use Raspberry Pi Camera
1. Install Raspbian system into SD card and insert to Raspberry Pi, connect the display to Raspberry Pi, Connect the camera to Raspberry Pi correctly.
2. Open the terminal and run
sudo raspi-config
3. Choose the Interface--Enable Camera , enter it , then it the Raspberry Pi will restart automatically ( if not , you can restart it by yourself)
Open the terminal again , run
raspistill –t 5000 –o test.jpg
then the camera will be on.The “5000”means the camera will open 5 seconds , the “test” is the name of picture , you can change them as your need.
Package Included:
1 x 220 Degree Camera(No light)
Warranty:
Returns: Customers have the right to apply for a return within 60 days after the receipt of the product
24-Hour Expert Online: Solve your installation and product problems

